Are you looking for easy DIY guide on make floating shelves to expand the storage capacity of your space aesthetically?
Floating shelves are perfect options for rooms short on square footage. They add a minimalist flair to your home’s interior and are perfect for displaying travel mementos, collectibles, or photos.
And the best thing is that you can build your own floating shelves with the help of a few power tools. Buying floating shelves from stores like IKEA or Lowes may be tempting, but you might have a less custom look.
You may even get a wider, overly boxy shelf that is nowhere close to your imagination. So why not make your own floating shelf rather than buy a pre-made one?
Whether you want to display family photos or store knick-knacks and magazines, you’ll find a DIY floating shelf design perfect for you.
Even if you do not have DIY skills, you can easily build your own floating shelf by following the ideas listed below.
Similar Post: Top 20 Long Floating Shelves To Enhance Your Home Decor
Easy DIY Floating Shelf Ideas
Let’s learn how to make floating shelves using these super easy ideas.
Supplies Needed
- Circular saw
- ½-inch paddle bit
- 2-by-10-inch pine board
- Bench or hand router with a Dado router bit
- Sandpaper (medium grit)
- Drill press (optional)
- Stain or paint
- Cloth (2 or 3)
- Polyurethane (optional)
- Blind Shelf Floating Support Invisible Brackets
- Pencil
- Paintbrush
- Drill
- Level
How to Make Floating Shelves?
Follow the step-by-step instructions below to learn how to build floating shelves with a handful of tools.
Also Read: 15 Black Floating Shelves to Enhance the Look of Your Walls
1. Gather Materials and Cut Your Board Down to Size
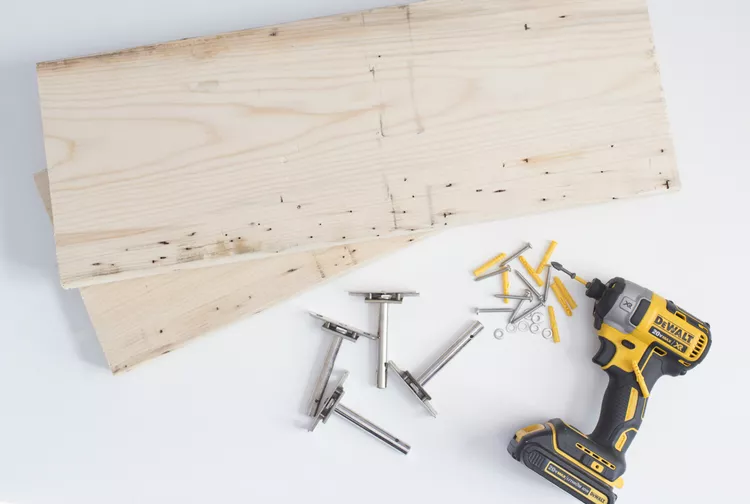
The first step to creating a floating shelf is to assemble all the required materials. Once your toolkit is ready, cut a larger section of wood into smaller pieces.
You’ll have to customize the size of the wood in a way that fits the place where you want to hang it.
2. Create a Notch to Accommodate the Hardware
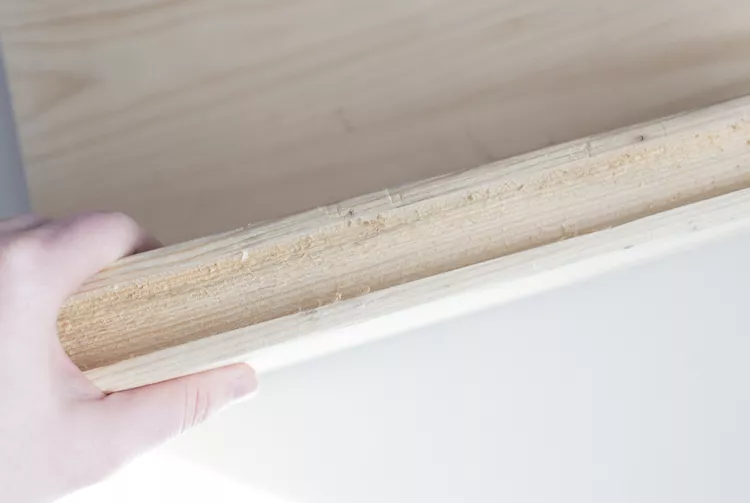
The second step would be to create a notch so that the hardware fits in the back of each shelf. The notch should be 1/2 inch deep.
You’ll need the notched back to ensure that when you hang the shelves at the desired place, the hardware doesn’t create a gap between the shelf and the wall.
3. Drill the Holes
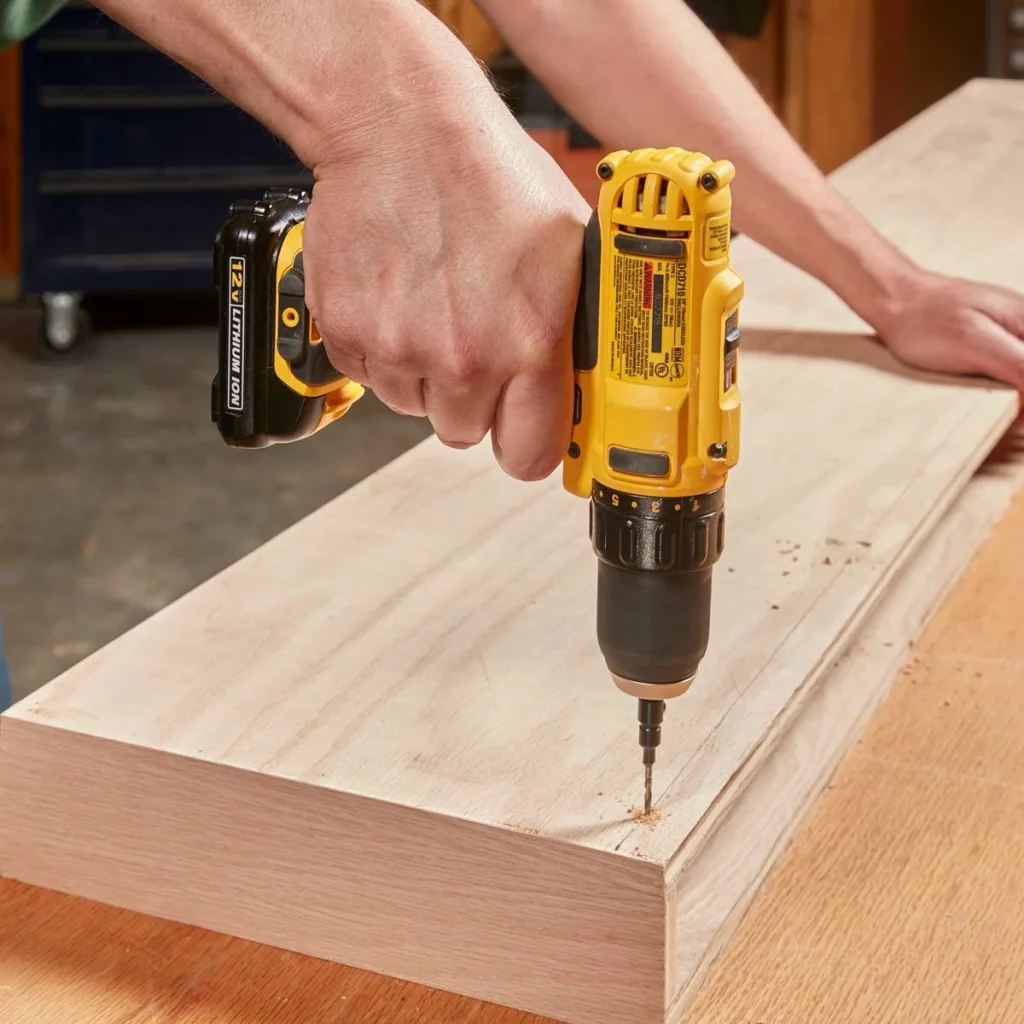
Now you need to drill 4 inches-deep holes using a hand drill. The hole should be drilled where your hardware will slide into place.
If you struggle to create straight holes, start with the paddle bit that will make it easier to accurately drill each hole.
4. Sand and Paint
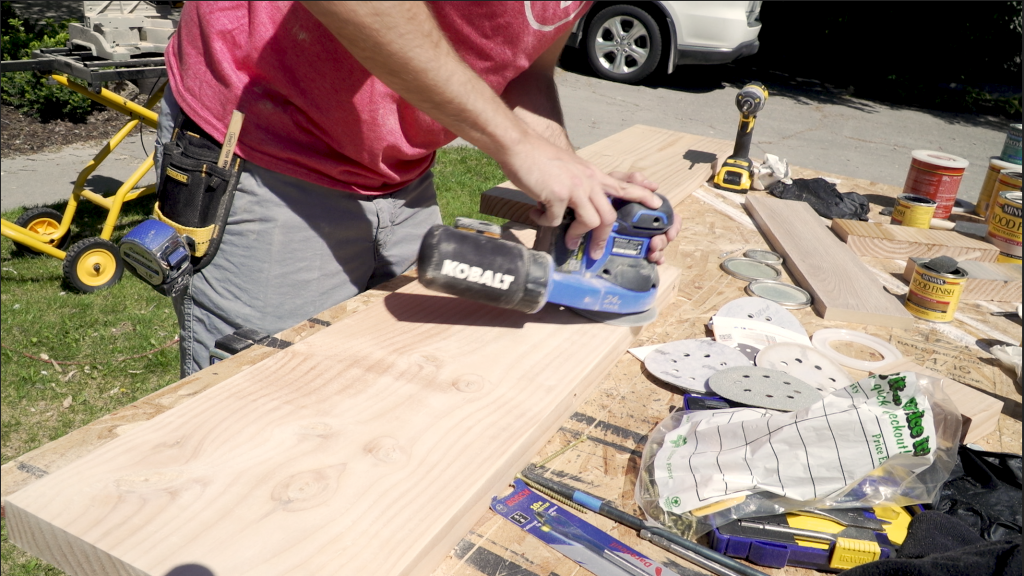
Now we shall move ahead with the finishing part. Sand rough edges on the shelf in an open area and apply your favorite paint.
The best thing is that you can customize the look of your shelf as you want. Choose white floating shelves or give a rustic touch with wood floating shelves. You can also give a weathered look by using reclaimed wood.
5. Install the Hardware and Hang the Shelves
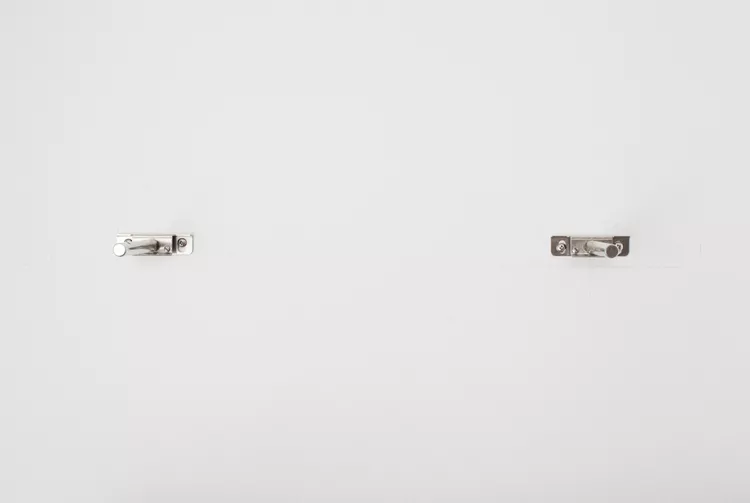
Once the shelves dry, you need to hang them. Figure out the ideal space where you want to place your shelves. Use a level to ensure each shelf is straight.
Slip your shelves into place once the hardware is on the wall via their drilled holes.
Easy to Make DIY Floating Shelves
Let’s take a look at the different types of floating shelves you can create using a few power supplies.
See More: 20 Best White Floating Shelves Design Ideas for Your Home
1. DIY Kitchen Floating Shelves
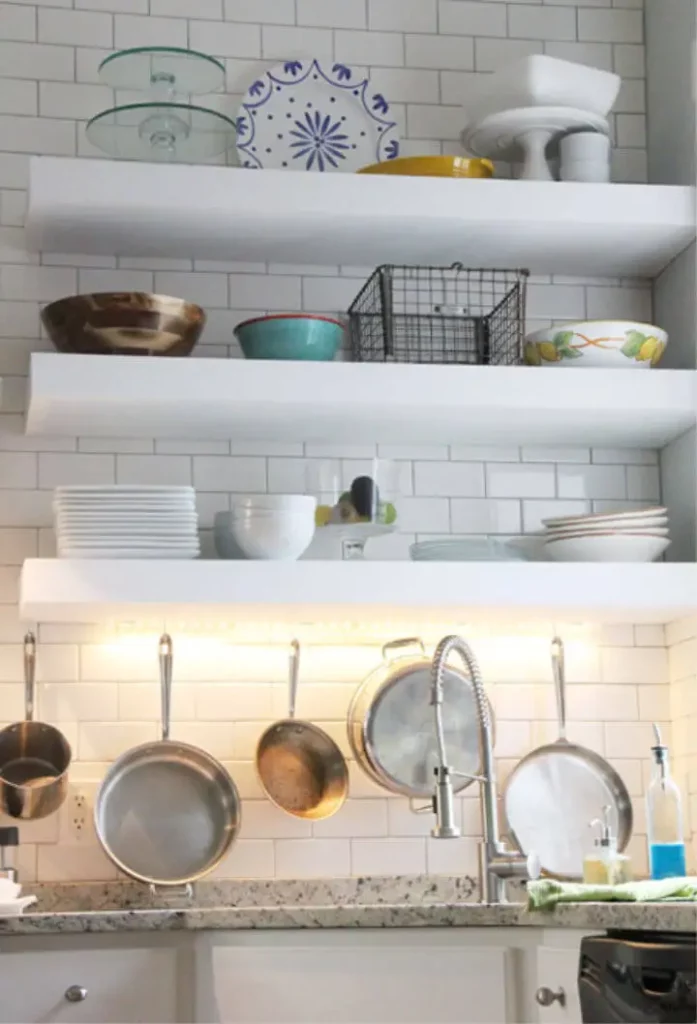
Floating shelves can be a beautiful addition to your kitchen. And the best thing is that you can build DIY floating shelves to your specific measurements and create a storage solution in no time.
Start by building the floating shelf frame using 2x2s wood slats. Now you’ll have to take the 10×11/4″ metal brackets to offer support to the shelves.
Cover the frame using 3/4″ plywood, and use the 1×6 clear pine boards for the front. Install lighting behind the shelves to accentuate the look.
2. Tetris-Style DIY Floating Shelf
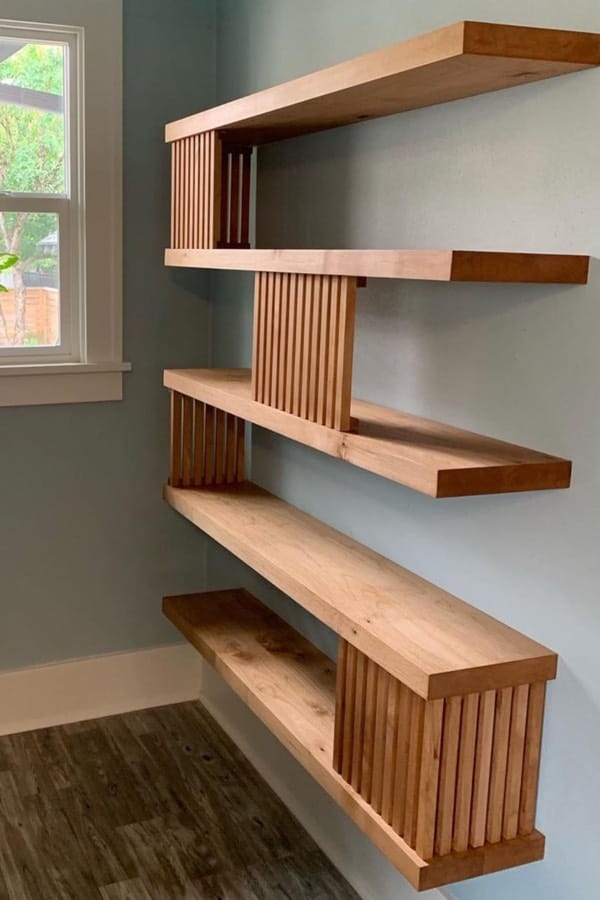
The chic styling of the Tetris-style shelves will remind you of the 90’s video game. Dark, natural-colored wood can be used to make these shelves as they look good when contrasted against a light wall.
To create a Tetris-style shelf, you’ll need 1/2″ plywood. You need to cut it into longer slats and build geometrical boxes out of it. Paint them with your favorite color for a custom hue.
3. Diy Driftwood Floating Shelf
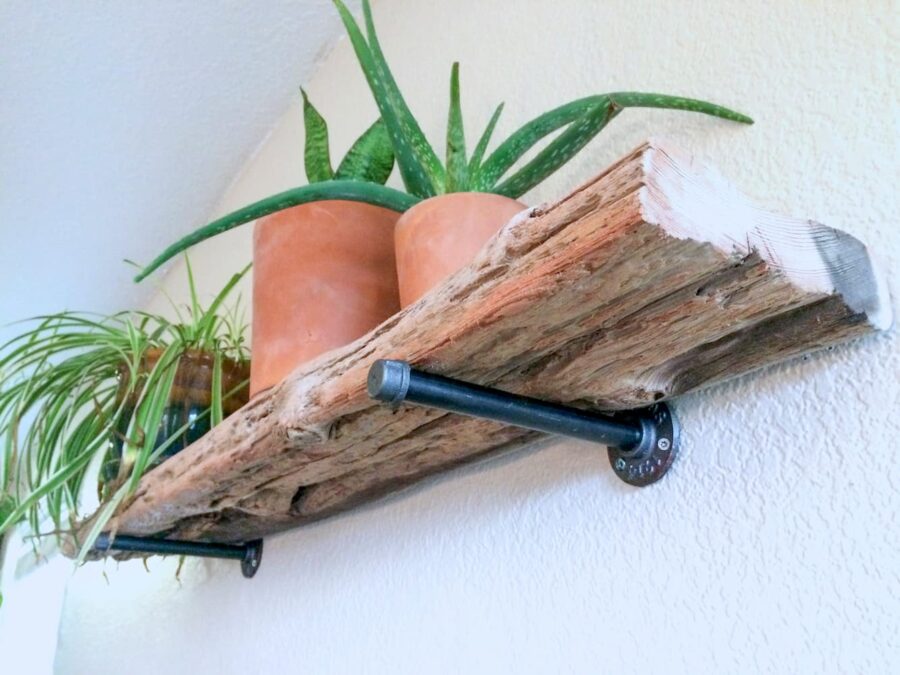
Driftwood floating shelves can be used to display natural sculptures. They are handcrafted from reclaimed driftwood and give your home a natural look.
To create a driftwood floating shelf, you will need a piece of driftwood that gives the appearance of a rustic shelf, black pipe fittings, and floating shelf brackets.
Once the black pipe shelf brackets are secure on the wall, you will have to place the piece of driftwood onto the brackets. Balance the shelf and ensure the brackets are stable.
Now you can display your artwork or plants on the sustainably sourced driftwood floating shelf.
4. DIY Bathroom Floating Shelves
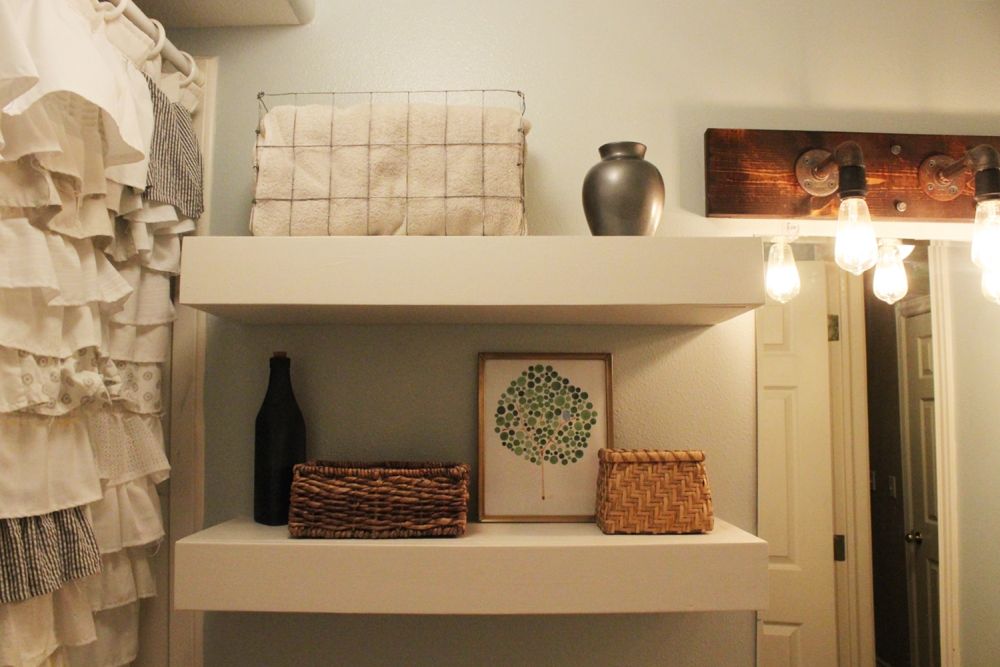
If you want to have extra bathroom storage, floating shelves can be your ideal option. They look incredibly appealing and will jazz up your bathroom.
To make bathroom floating shelves, you’ll have to put together the 1″ x 1″ boards. After that, you’ll have to install the floating shelves frames.
Use MDF boards or plywood to build the big outdoor shelves. Install the shelves in the desired area in your bathroom and turn your useless wall into a showpiece.
5. DIY Honeycomb Hexagon Floating Shelves
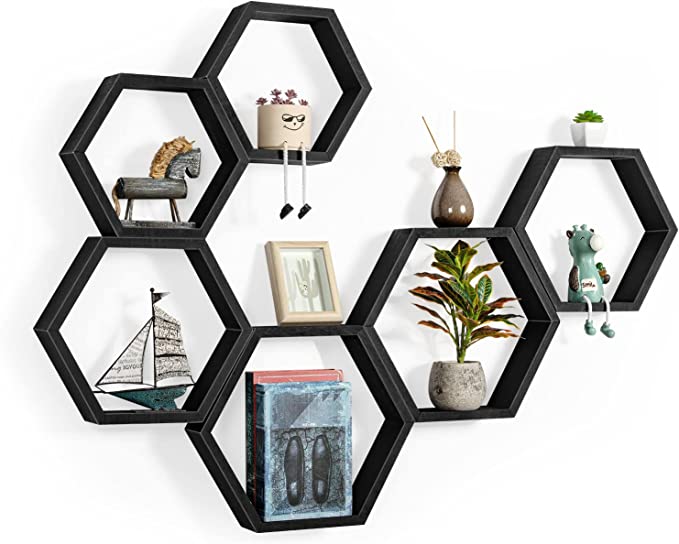
Honeycomb hexagon floating shelves are the geometrical version of floating shelves. They are wall-mounted and look good in office spaces, bedrooms, and living rooms.
You can display your favorite potted plants, collections, photos, and other items on these shelves. To create them, you need to assemble the craft sticks into a double or single hexagonal shape.
Once you have assembled the craft sticks, stain them and install them as hexagonal floating display shelves on the wall.
Related: 21 Unique Wall Shelving Ideas to Upgrade Your Home Decor
6. Floating Shelf on the Backsplash
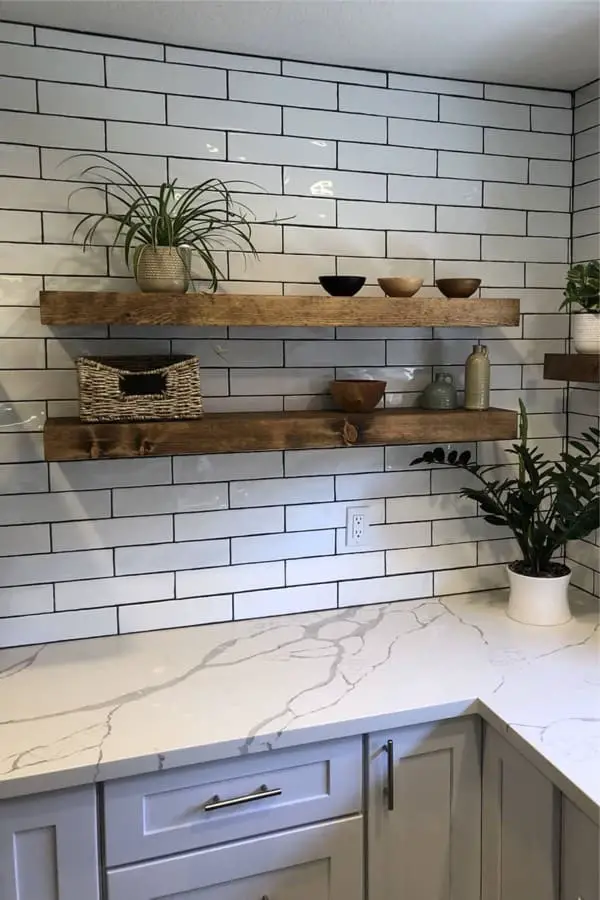
You can also install a floating shelf over the tile backsplash in your kitchen. Once installed, the shelf will become an ideal storage space for your family’s appliances and dried goods.
To make this floating shelf, you’ll need a drill machine, bench router, sandpaper, drill bit, pine boards, stains, paddle bits, and other materials.
Cut your board to the size you will work on, and use a Brad nailer and wood glue to secure the frame of your shelving. Seal the holes and create a brace for the floating shelf.
Secure the plywood and add a gallery rail. Paint the tower shelf and measure the space for your backsplash. Cut the tiles to fit the area.
Attach a peel-and-stick adhesive tile mat to the wall. Apply the grout, and your modern pantry is ready.
7. Laundry Room Floating Shelf
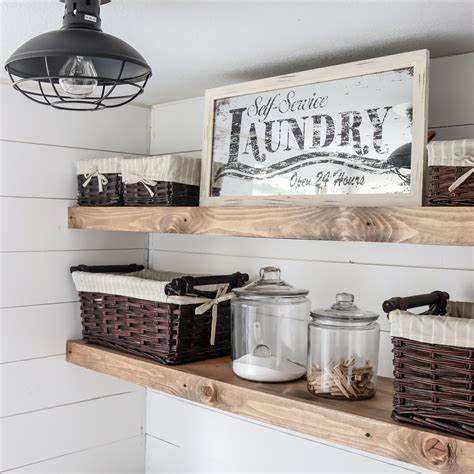
If you want extra space in your laundry room, you can install a floating shelf. To create a floating shelf for your laundry room, you’ll have to figure out the depth and height of the shelf.
Mark the height line with the painter’s tape. You also need to mark stud locations on the tape. Cut your board to the size you want and build a shelf frame.
Mount the frame to the stud walls. Now cut and mount plywood and front board. Sand the shelves and prep the surface. Repeat these steps to create as many floating laundry room shelves as you want.
8. Mountain Floating Shelf
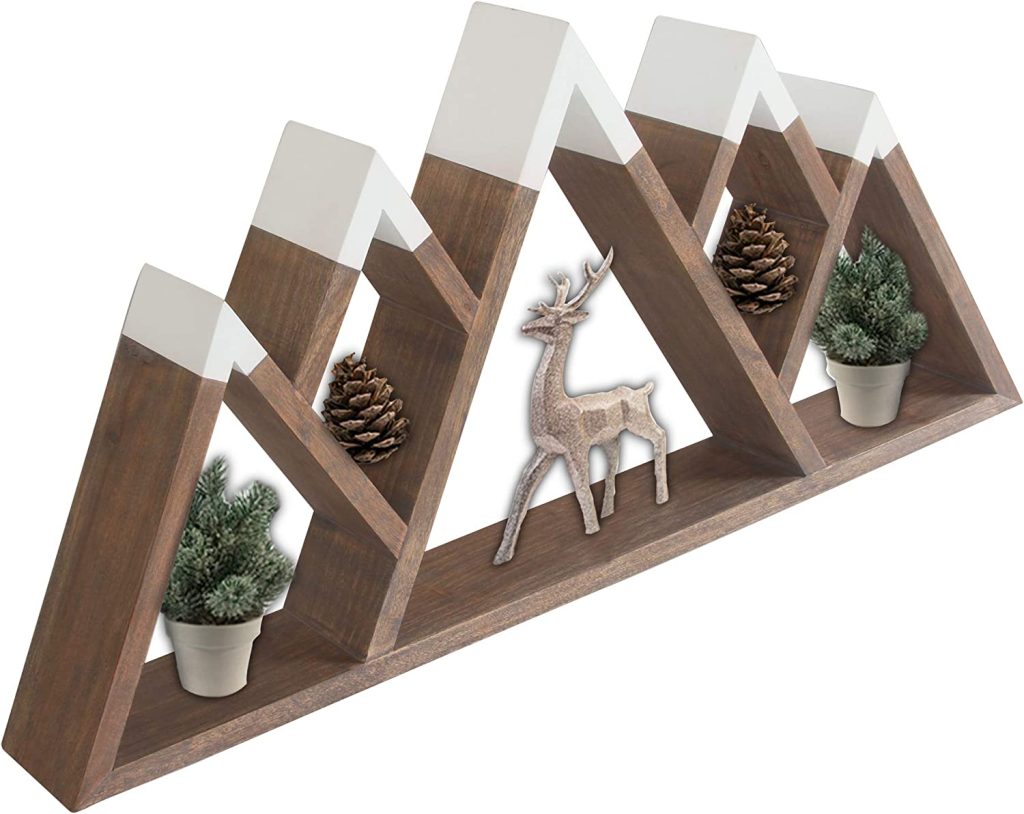
Mountain floating shelves can be the ideal choice for modern houses. They look stylish and provide tons of space for storing your essentials.
To create a mountain floating shelf, you’ll have to cut the wood into the desired dimension and do a test fit. Now take your baseboard and sand it to ensure it looks exactly how you imagined it to be.
Align the two sides of the baseboard on plywood with small blocks. Now you need to apply glue and let it dry overnight. Attach the mountain to the base and sand the angles if required.
Add the second mountain, give the final touches, and mount the shelf on the wall.
Conclusion
So make floating shelves on your own using these easy ideas and make any space feel larger. The best thing is that you need a little bit of enthusiasm and DIY know-how to build floating shelves for yourself.
Floating shelves fit practically anywhere and don’t take up any floor space. And no matter whether your home is big or small, there’s a spot that could benefit from these shelves.
Choose any of the ideas mentioned above and transform even ordinary spaces into decorative masterpieces.
Frequently Asked Questions
Why Should You Opt for Diy Floating Shelves?
DIY floating shelves are easy to make and can be customized as per your choice rather than the pre-made version. They suit all interior design styles and are space-savvy and inexpensive.
What Are the Different Types of Diy Floating Shelves You Can Make?
You can make a wide range of floating shelves ranging from honeycomb hexagon floating to driftwood floating, Tetris-style floating shelves, and kitchen floating shelves.
Do You Need to Have Expert Diy Skills to Create Floating Shelves?
You can create floating shelves even if you don’t have DIY skills by following the ideas mentioned above. You’ll need a few supplies to create these floating shelves.
Are DIY Floating Shelves Expensive?
No, the cost to create floating shelves is minimal. You can even use reclaimed or repurposed wood to cut down the cost.
Check This Next: Bathroom Mirror with Shelf: 11 Unique Designs and Tips to Upgrade Your Home Decor


