DIY projects are fun, stimulating, and engaging in the best way possible. It is the perfect playtime for adults while being a more economical way of getting things done.
If you have been looking to finally start your home project of creating a DIY Slatwall, this will help you every step of the way. Slat walls, usually found in shops or functional spaces, were historically used for holding inventory for display.
Ideal for hanging in fixtures and other materials, but it also doubles up as a great decor wall.
Are you looking at building your DIY slat wall from scratch? This step-by-step guide will help you with simple, easy-to-follow steps to create your very own slat wall.
It is the best way to amp up your decor while having functional uses for the same. Grab a friend or a DIY partner, and follow these simple hacks to get your DIY slat wall up and ready in no time.
Similar Post: 5 Simple Steps for Creating Stylish DIY Floating Shelves
Start with the Basics
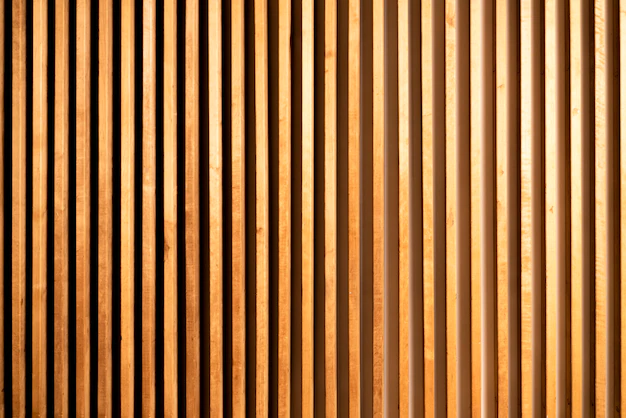
Wooden slat walls may look easy, but they can be challenging when done without thorough preparation.
Buying readymade lumber strips that are pre-cut can make the whole task simpler. However, this can prove to be a rather expensive alternative.
This is why, if you want to go all in with DIY, buying an entire sheet makes more sense.
For this, it is advisable to have your table saw a machine that can help hasten the process of cutting them into desired dimensions.
Slat walls consist of even strips of wood that are all evenly spaced. This is usually seen in hotels, kitchens, and stores as it has a high utility.
However, you can get walls with a great accent look when you play around with materials and colors. Here are some basic aspects you need to know about this DIY Slat wall.
- This covers almost 7-8 ft of a wall. However, you can customize the dimensions based on your wall requirement.
- Each wood slat can vary depending on preference from about ½ inch to about 2 inches in width.
- These strips or slats are usually narrow in thickness
- The spacing between each of the strips should be between ¼ inch to about ½ an inch of a good look and feel.
Also Read: 10 Beautiful Walk-In Shower Tile Designs for Your Bathroom
Tools Required:
Sheet Slats Vs. Dimensional Slats
The key decision while making your DIY slat wall is to choose your level of difficulty or budget. If you are looking for a quick DIY fix, the option for dimensional slats is the way to go. For this, you will need
- Lumber strips of pre-cut dimensions
- Miter or circular saw
- No need for a table saw
- Quick process, as it is more about putting things together
- More expensive
- It ends up thicker than sheet slats
However, when it comes to sheet slats, the process is more extensive.
- More control over the outcome
- Time-consuming
- Thinner wood slats
- A table saw is a mandatory circular saw
- Economical as compared to pre-cut lumber strips
How to Build a Slat Wall By Yourself?
1. Cut Your Wood Down
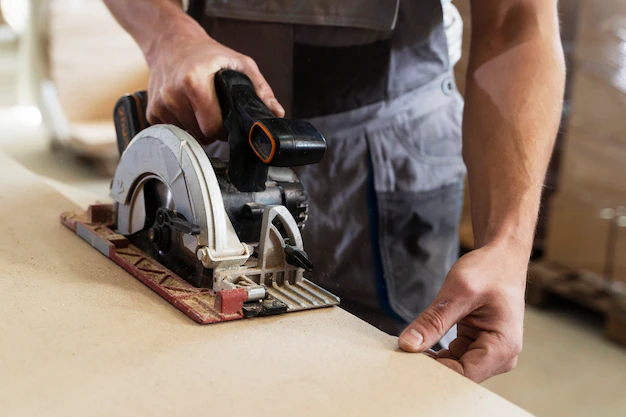
The first step in building that stunning wall is getting started on your plywood. If you have purchased a sheet of plywood, then it’s best to cut them into slats of approx 1.5 inches each.
This is the ideal size of an aesthetically pleasing slat wall. You can use a table saw to cut these pieces accurately and swiftly. Measuring your wall and checking if the length of your slat wood is ideal is always important.
Generally, 8′ sheets are available, but if your wall is longer or you want a complete ceiling-to-wall look, then go for taller sheets.
2. Sand It Down

The best way to do this is to have sanded plywood to start with. This simplifies the process. You can then just use an orbital sander over the slats and sand it well.
You can use sandpaper of 150 grit. In addition, you can choose to sand it further down so that you have smoother corners to work with.
Take your time with sanding and finishing. Any discrepancy here will distract and take away from the final finished look you are aiming for.
See More: 15 Budget-Friendly DIY Water Fountain Ideas
3. Coat It Well
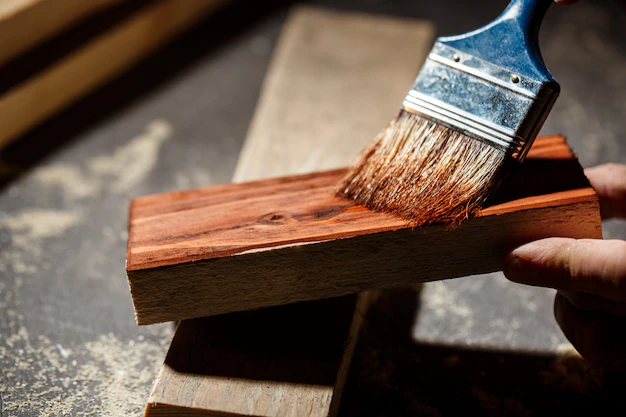
The next natural step is to coat the wood that’s been sandpapered with a layer or two of polyurethane coating. This coating improves the water resistance and scratch resistance that the wood is expected to undergo.
It also gives a smooth and glossy finish that improves the overall durability of the wood. Use a normal brush or a foam brush to treat your wood slats.
Alternatively, you can also use a polyacrylic coating. You can also stain your wood using a wood stainer if you plan to have it match the wood tone of your home.
Polyurethane is known for its nasty smell and effect on health. Therefore, water-based polyacrylic can be used as it is relatively milder to smell.
However, it must be noted that it takes longer to cure, even though it dries out pretty quickly. Generally, polyurethane is much easier to apply as compared to polyacrylic, which is generally the preferred choice.
4. Fix Up Your Brad Nailer

A pneumatic Brad nailer is a great option for your DIY slat wall. This means using an air compressor that powers your Brad nailer for nailing your wood down.
This product is very good for those looking for finishing woodwork or fine craftsmanship. Choose a good 16 gauge nail that this brand nailer will fire. This size is ideal for a DIY slat wall nail requirement.
5. Level Level Level
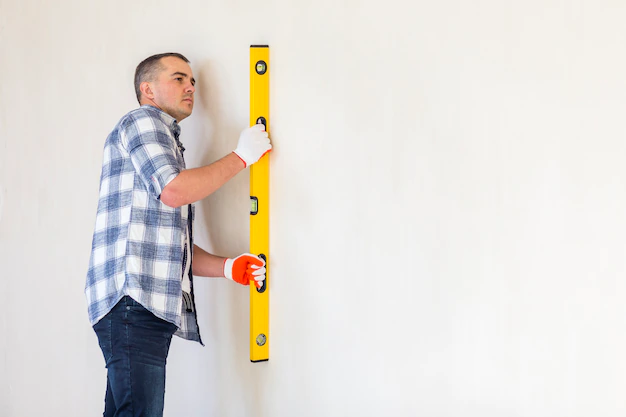
You mustn’t entirely rely on the wall as the reference for your leveling. Depending on the property, there is a good chance your walls aren’t leveled properly.
So when placing the first slat, ensure you level use a 4′ level to make sure your leveling is down to perfection.
6. Nail It Down

Once you have leveled, add your nails into the first slat. Ideally, nail firmly at the top, middle, and bottom of the board. Follow this up with another couple of nails spread across the board.
Be clear with your nailing process. Do not forget to fill up any accidental nail holes later before you paint it down for a great final look.
Related: 22 Closet Door Ideas for a Refreshing Look
7. Perfect Distance Spacing
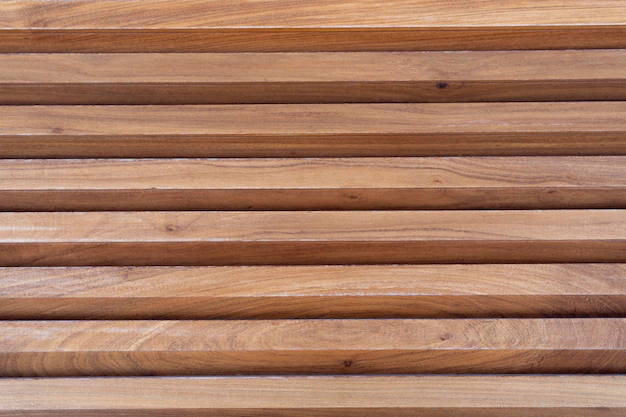
Once you have placed in that first tricky slat wall, your task is 50% done! All you need to do now is use spare wood of your desired spacing dimension and use that as a spacer between slats for the rest of the wall.
Pick a spacing that meets your requirements. Generally, a slat wood spacing ranges from 1/4th to ½ inch.
8. Mind the Outlets
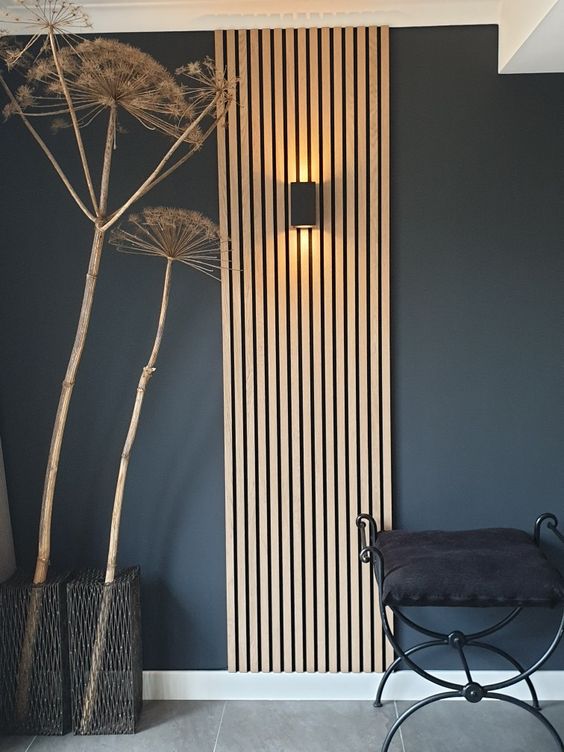
Chances are that your wall has outlets for plugs of lighting fixtures. Before you go about cutting your wood, ensure you keep these outlets in mind and work around those.
Tips to Keep in Mind While Prepping Your Slat Wall
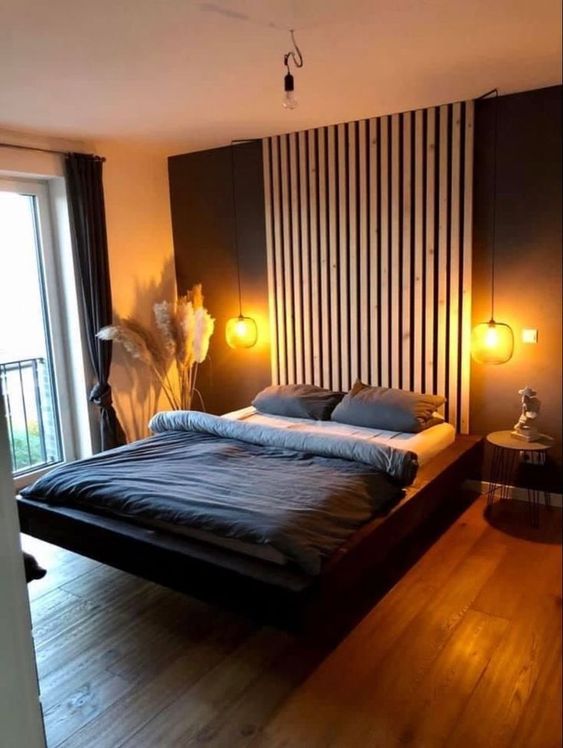
- Paint the wall – This is an option depending on the look you are going for. You can either leave the existing paint as it is, as the accented slat wall will upgrade the look of the wall. Alternatively, you can go bold with this and have a bold color on the background wall.
- Mind The Angles – if you are doing a wall-to-ceiling look, ensure you mind the angles of the ceiling if it has a slope. Cut your wood out based on those angles.
- Paint your slats – a good way to give your plain white walls character is by coloring your wood slats in vibrant colors. This, too, adds much-needed life and a punch of vibrancy to your room.
Conclusion
Building the perfect DIY slat wall is way easier than it looks.
If you have been looking for the perfect summer or side project to amp up your home, keep you occupied, and hone your skills, DIY slat walls are ideal.
It is much easier to work on, simple, fast, easy to follow, and not as time-consuming as other home renovation projects. However, in terms of the outcome, it can completely change the look and feel of any room.
It adds dimension and depth to any space, makes for a great accented wall, and, not to forget, has functional utility too.
Frequently Asked Questions
How Do You Make Cheap Wooden Slat Walls
You can make slat walls by option for a DIY slat wall. If you choose wood sheets and make them yourself, you save hundreds of dollars! It’s simple to make, easy to install and can upgrade your home’s look & feel.
It’s an affordable way of undertaking a home decor project that isn’t too time-consuming.
What Type of Wood Can Be Used for DIY Slat Walls?
Using plywood is the best way to make your DIY slat walls. Ideally, they can be about ½ inch sheets that are made of two lumber. It helps you create strong, sturdy slat walls of desirable dimensions and save money.
Is the Slat Wall Waterproof?
Slat walls are ideally used in homes to build stunning accented walls. Hence they can take general humidity etc.
However, they are not built outdoors, where they come in direct contact with the elements. They are usually coated with polyurethane, making them last longer and water resistant in home environments.
Check This Next: 25 White Wall Decor Ideas to Revamp Your Home


