Ever wondered what a wall trim is? We often get bored with our home interior and look for suggestions or ways to bring changes to it. We make these changes by moving around our furniture, changing the wallpaper, or even changing our wall paint.
But these changes are usually limited to something that doesn’t cost a lot and something that does not require too much effort or cause disturbance in the daily lives of family members.
So, usually, we drop the idea of changing and redecorating our homes or just go out and get some expensive decor pieces. We just want the effort to be less and the process to be easy.
However, a lot of us haven’t explored the idea of wall molding, also called wall trim. It helps to bring a modern architectural view to the wall of your house and provides a focal point to your room.
You can try them in any room of your house, whether the bedroom, living room, or kitchen.
Wall Trim/ Wall Molding
Wall trim will not just enhance the beauty of your house but also help you conceal the gaps, cracks, and other issues and imperfections in your wall very effectively.
It can help you to have a dramatic design for making a statement in your room. They help you to be the low-cost solution that enables you to transform your room’s aesthetics.
Especially when it comes to the kitchen area, nothing can make it look more interesting than building molds on walls.
There are different styles of wall molding that you can choose from to get an aesthetically pleasing wall trim that best suits your home decor and yet is easy to do yourself.
Similar Post: 16 Fabulous Cabinet Crown Molding Ideas to Transform Your Home
How To Install Modern Wall Molding
These are the few types of wall moldings; you can build all of them or anyone as per your choice and house aesthetics.
Here’s a procedure of how to build a wall trim by yourself in your house. But first, let’s see the material requirements for our project.
- Tape for measuring
- Comfortable ladder
- Eye protection glasses
- Miter Saw
- Caulk
- Caulking gun
- Putty
- Gloves
- Paint and brush
After gathering all the products, you can now follow this stepwise procedure to build a wall trim in your house.
Step 1. Measure Your Wall
Before planning everything, such as design, amount of materials, etc., you need to understand the size of your wall and understand how much molding exactly you are going to need.
Measure the size of your wall using a pen, pencil, tape, and level, and understand the size of the element you are going to make on your wall.
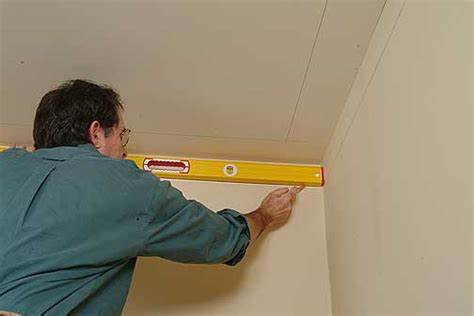
It can be a square, rectangle, or kite. Ideal to drawing the design with a pencil or chalk on the wall to get the blueprint of what you are going to make.
It is easier to work when you have the complete design in front of your eyes.
Step 2. Buy Your Molding
After understanding the shape, size, and design of your wall, it is time to buy the molding for wall trim. Add the measurement of each box and keep the buffer of an extra 10% for waste.
You need to buy the mold based on the length of the area covered by molding. If you don’t want to make any customizations or extra efforts, the standard wood molding is available in 12, 10, and 8-ft lengths.
After you have calculated the amount of mold that you will need, you can order it online and get it delivered for free.
Step 3. Locate and Mark Wall Studs
You can locate your wall studs using a pencil and measure them accordingly to build the wall trim. This will help you get an exact idea of the shape and measurements of your wall molding design.
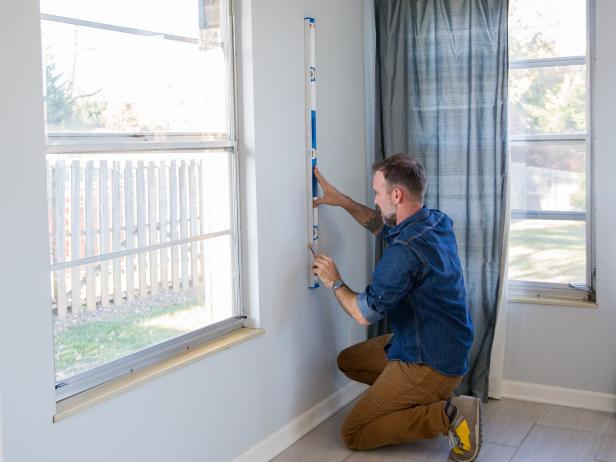
Further, if you make any mistake in these activities, you can go away, take a look, and change them immediately.
It gives a fair idea about if you are going right with the design and allows you to make mistakes in the initial stages of the process.
Step 4. Cut a Piece
Now that you have made a perfect mold structure on your wall with straight lines that are equidistant from each other, you can cut the piece of wood in that size and shape.
If you are not very confident about cutting, please get help from someone who can do it. It will lower the risk of you injuring yourself in the process.
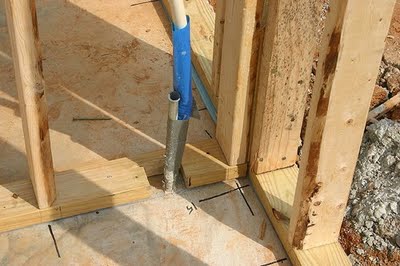
After cutting it, fit the piece of molding in the corners. If you are making boxes, ensure that you don’t cut the pieces at a 90-degree angle. If you cut them at a 45-degree angle, the box will look equal from all sides and aesthetically appealing.
Step 5. Use Nails to Fix
After cutting the pieces into the correct shapes and sizes, you can now fix them on the walls using nails. You can either use a finish nail gun or use a nail and hammer.
Ensure that you are using the right horizontal and vertical parts at the required places in the design.
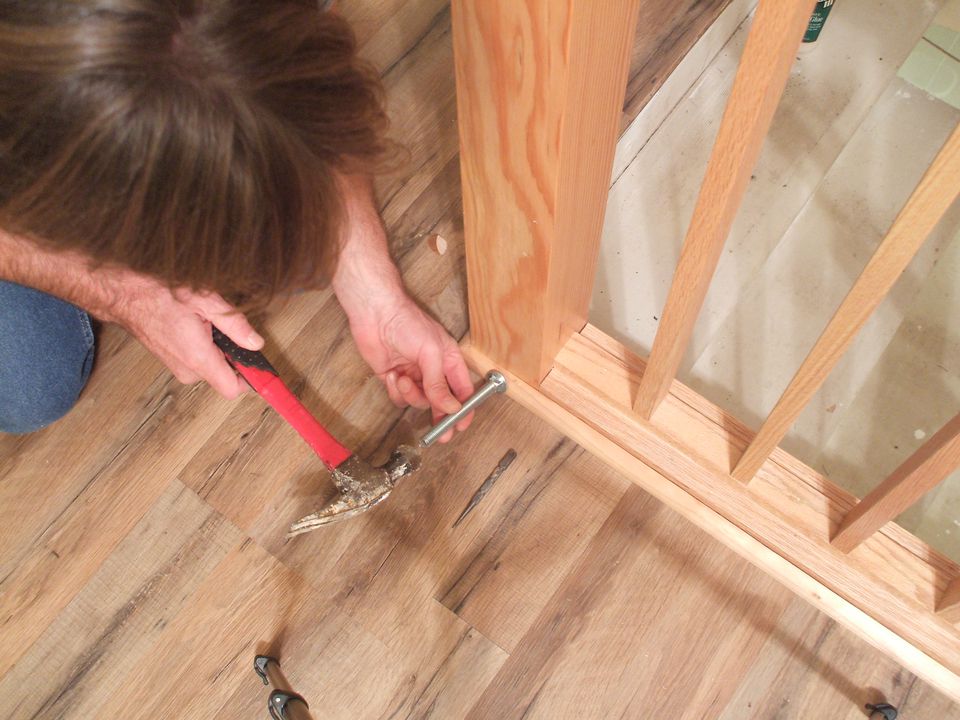
If you nail in the wall, it will be no use to keep the molding in place; you must nail in the studs for effective fixing. Similar to using a woodcutter, use a nailing gun with guidance and help.
Also Read: 21 Modern Window Trim Ideas to Boost Your Home’s Visual Appeal
Step 6. Repeat the Process
Keep on repeating the process of cutting and installing the wall moldings till the point where all places are fixed perfectly in place and are held tight on the wall.
Ensuring parallel lines in the wall with perfect symmetry will make it look elegant and appealing.
One thing to remember is that your ceiling and floor won’t always be parallel to each other. In such cases, make them parallel to the ceiling.
It will make them look more satisfying and wholesome to the human eyes.
Step 7. Hide the Nails
After your design is completed and the molds are on the wall, you will see some gaps and irregularities among them.
Further, you will see that the nails are dominantly visible on the wall trim. To cover both these things, you can use putty to fill the gaps and hide the nails. It will take some time to dry.
After some time, the mold and putty will be on the level, and all the holes will be filled. The transition from one wall to another will look smooth.
Step 8. Caulk It
Caulking is likely to take a lot of time, but it gives a good finish to your wall trim. It helps to fill all the gaps that must have been established between the pieces of wood and the wall.
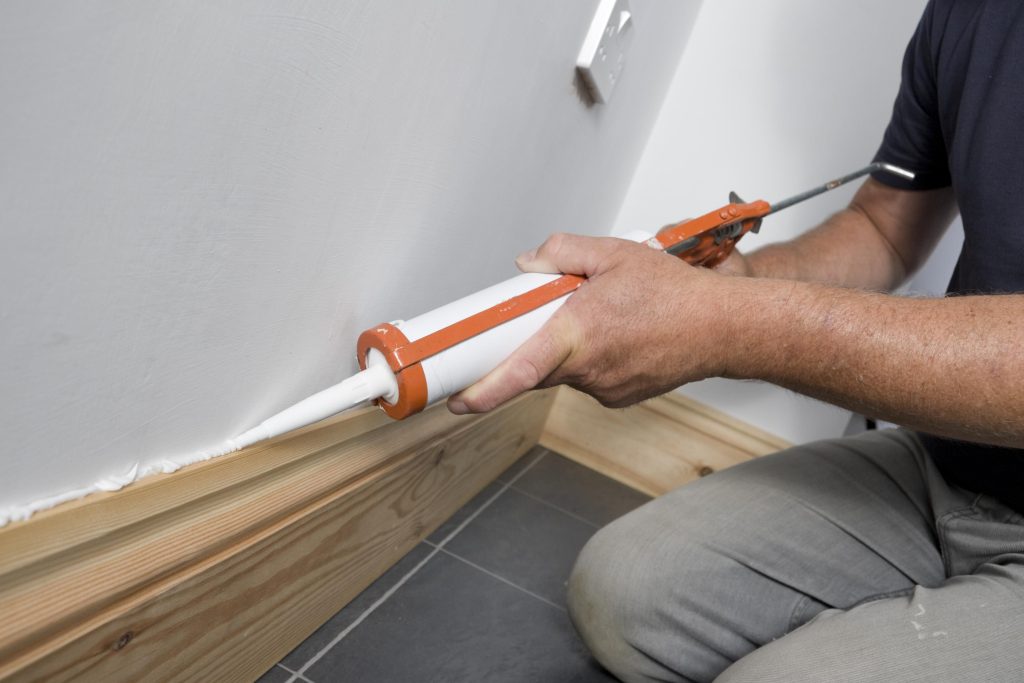
The caulk will help you fill them, and you will see a huge difference in the finished product.
Now your product is at the step where it is done and ready to be decorated based on the colors of your walls, curtains, and the theme of your house.
Step 9. Use Primer
If you are planning to paint the wood, you will need to use a coat of primer so that the color sits well on the wooden mold. It will ensure that the wood will not be seen through the paint.
If you were using a pre-primed trim all this time, you don’t need to do this step.
Step 10. It’s Time to Paint
The safest and easiest way to paint the wall trim would be to paint it similar to the wall color.
This will help you to shorten the process, and you would not have to paint the wall or be afraid of the color spilling on the wall from the mold, while painting or otherwise.
If you wish to paint the wall and mold it with different colors, it must be done accurately.
Some Design Ideas Using Wall Trim
1. Baseboard Wall Trim Design
We often visit some modern and stylish homes of our friends and relatives and see that they have long wooden stripes on the walls. They are called baseboards.
Baseboard is the most used wall-trim style. They give a soft transformation from the wall to the floor. They are available in different styles, sizes, and forms.
Also, among all the wall trims, they are the easiest to implement. Usually, they are installed in the size of 3-5 inches.
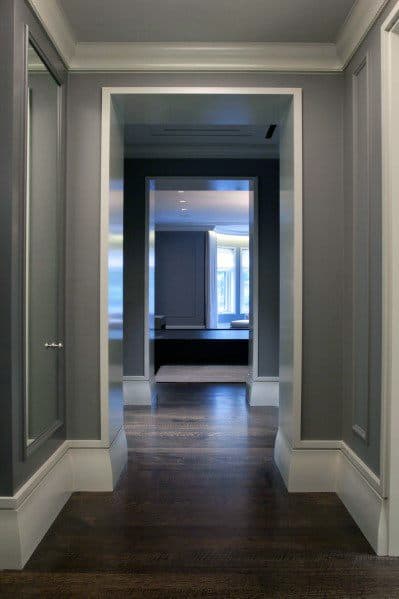
They go well with any type of home decor and wall art. Being the easiest to install, most people do install them by themselves. You can even get them built over a weekend when you have time.
See More: 15 Craftsman DIY Trim Ideas to Upgrade Your Windows and Doors
2. Casing wall molding design
Casing wall trim designs are usually built around your doors and windows on the interior as well as the exterior of your house to ensure a smooth transition from the window to the wall.
They give a border to the window in the fanciest ways. It helps to bridge the gap between your window and door frame.
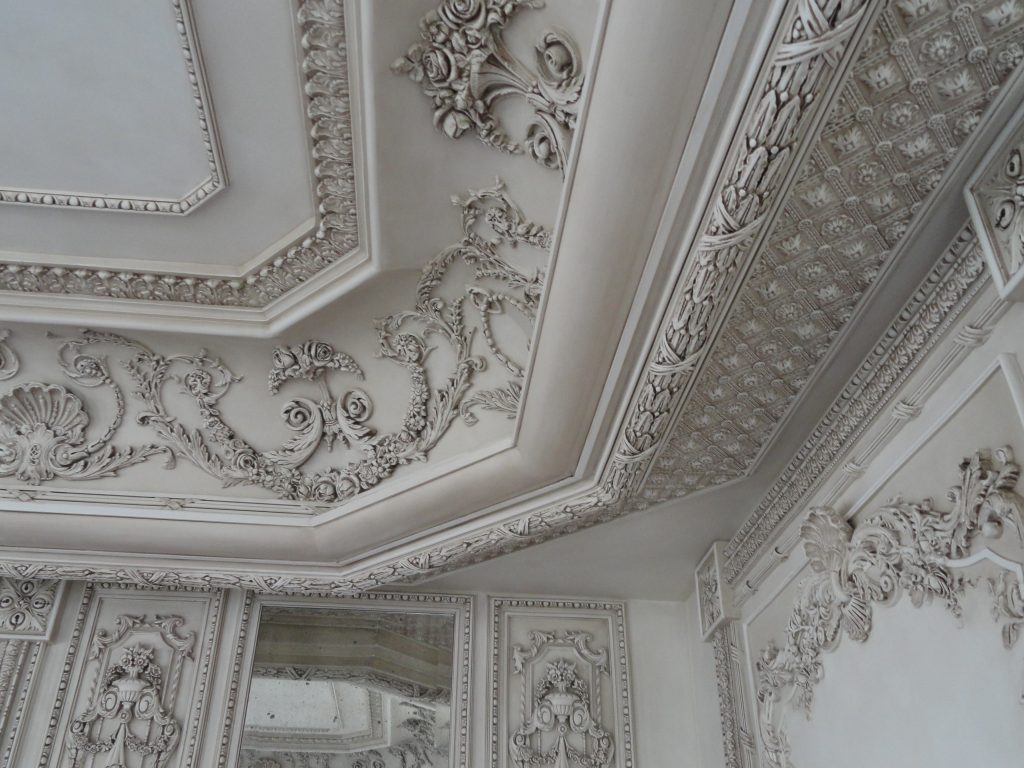
They are not usually built by the non-professionals like you and me. Casing wall trim designs are built by professionals during the construction of the house. It ensures that the house has a smooth finish.
They are aesthetically appealing in your house. They are painted differently from the color of walls or windows and doors.
3. Crown Wall Molding
If you want to give a royal look to your house at the very base of it, this is an amazing idea to follow. Crown moldings are built on the junction of ceilings and walls.
From building plain stripes to creating patterns of beautiful designs, they work outstandingly well for all types of houses.
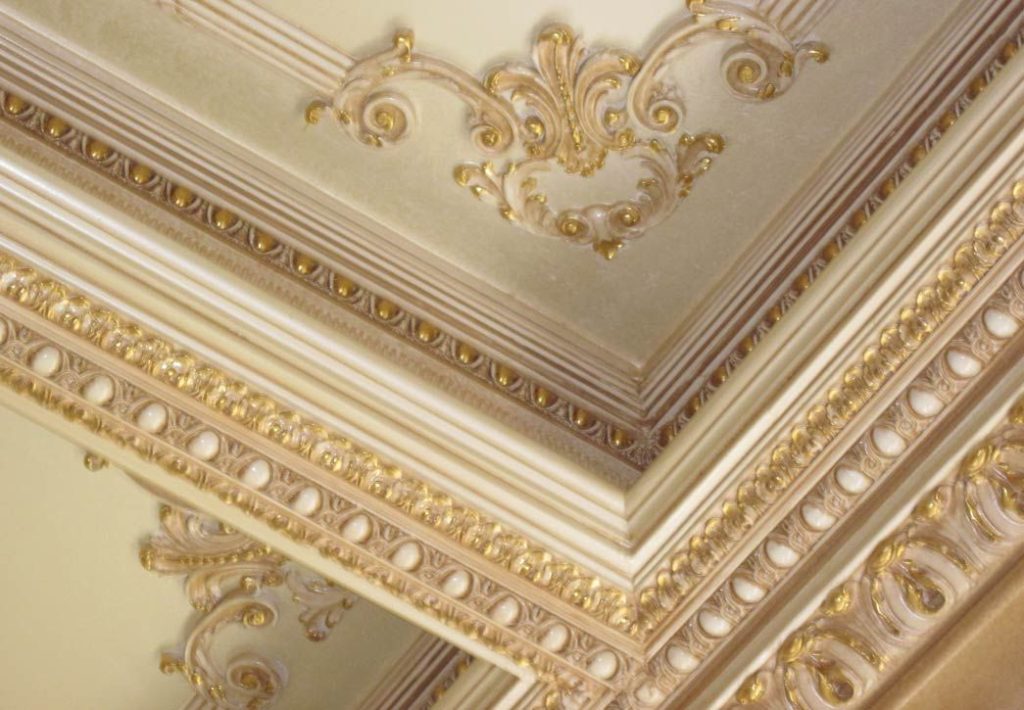
They are usually built at a 45-degree angle from your ceiling. If you are the artistic type, you would want to create some designs that make your house look elegant and beautiful.
This type of look can help to increase the value of your house. You can also implement baseboards below it to give it a dramatic effect.
4. Cove Wall Molding
If you like the crown molding but want to do a simpler version of it, this is the one for you. Cove wall trim is an easier version of crown molding. It is a popular type seen in Indian houses.
This design is built on a simple plain wall. It has a step-like pattern and is concave in its form.
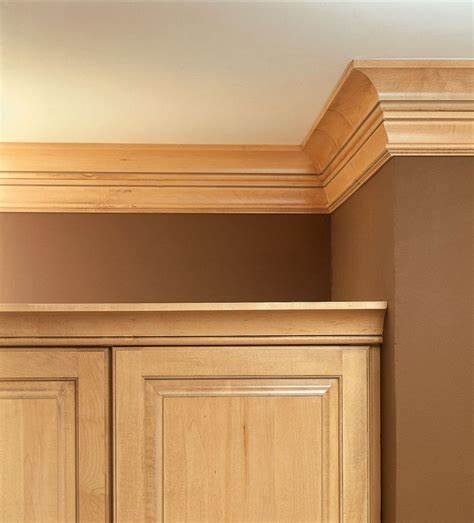
It helps to make your space look larger and taller than before. You can paint it in different colors or the same color as the wall.
Even after coloring the same color, it will be visible due to the pattern and its shadows. Further, it will make your wall look interesting.
5. Skirting Wall Molding Design
If you make a crown molding on your wall and just want to reverse its position, it is called a skirting wall molding design. This type of wall trim is the one where the floor meets the wall.
It is built on that junction and can be designed in the same ways as the cove or crown wall trim.
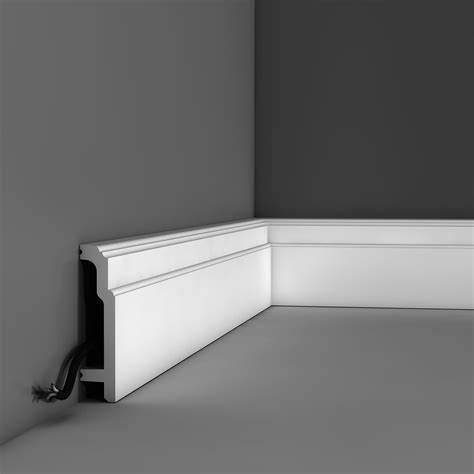
They look highly effective if your walls and floor are of different colors, finishes, and textures. You can build this type of design differently than the other moldings in the house.
They help to conceal uneven walls, floor areas, doors, and cabinets. You can make them from wood or plaster.
Related: 25 White Wall Decor Ideas to Revamp Your Home
6. Chair Rail Wall Molding
If you want to build a wall trim some length above the floor, this design is for you. It is a horizontal wall trim design that can be built around three feet over the floor.
A general rule that is followed is that the chair rail wall molding is built at 25% of the room’s height.

This is the part where your chairs would reach the wall when placed on the floor.
The main aim of building chair rail wall trim is to minimize the damage caused by chairs, tables, furniture, or sofas on the wall constantly touching the wall.
But they are usually built to increase the aesthetics of the room. Further, painting them with a color that is in contrast to the wall can make your wall look more interesting.
Conclusion
Wall molding enhances the look of your house and makes it more interesting. The process of building them does not require a lot of effort or money to get them built.
The main aim of the wall trim is to elevate your home decor to the next level. It is an option better than using the common wallpapers.
You can go creative with the molding as you want in terms of shapes, colors, and designs.
Tell us in the comments, tell us your idea about building a wall trim for your house
Check This Next: How to Easily Frame Your Own Canvas Painting

