The front-of-house lighting positions for most houses are limited to the front door light. This doesn’t help illuminate your front yard after sunset with large pockets of dark, which could do with more light.
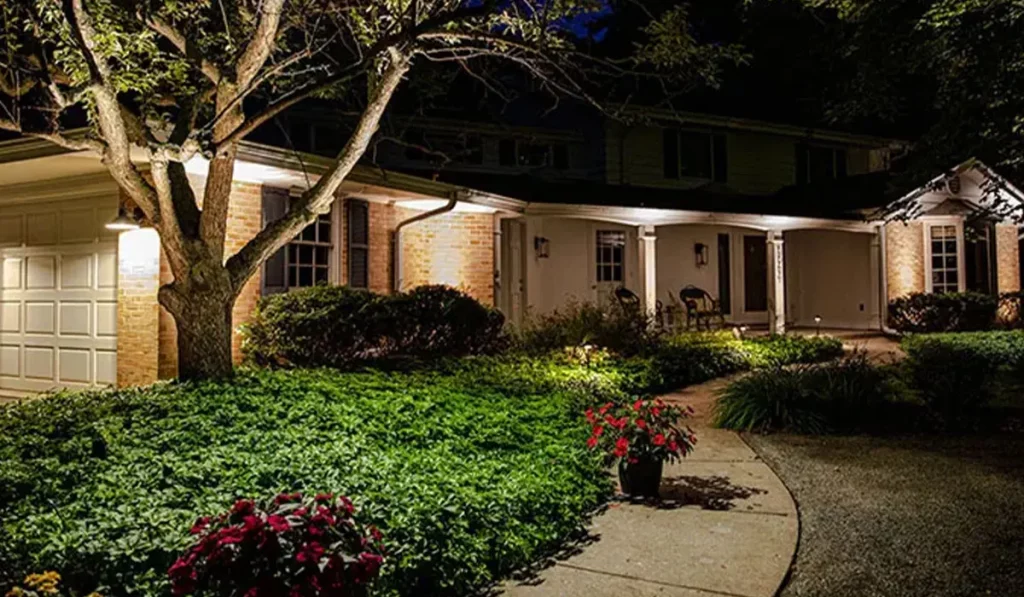
Adding landscape lighting is a great option to make sure that your house looks well-lit and aesthetic while also adding to the safety factor.
You can easily add to the appeal of your yard and garden with some easy DIY lighting options, which will transform your yard and convert it into a place you will want to hang out and also turn into an entertainment space.
These light fixtures are generally placed around steps, fences, and other key focal points in your yard. With some basic tools and a bit of hustling, you can get this project started all by yourself.
Read on to understand the different kinds of lights and their installation techniques.
Similar Post: 20 Amazing Ideas for Vaulted Ceiling Lighting for Every Room
Types of Landscape Lighting
There are three main kinds of landscape lighting generally used- solar lighting, low voltage lighting, and line voltage lighting.
The usage of any or a combination of these will depend on the needs of the yard.
1. Solar Landscape Lighting
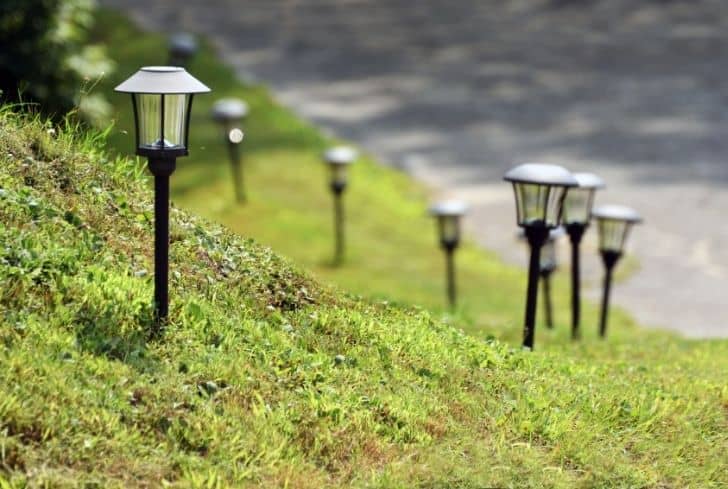
Solar lights are small exterior lights that are powered by a photovoltaic cell that is charged by sunlight. These are charged in direct sunlight for about 7-8 hours during the day.
These do not need any extensive wiring to the main circuit of the house since they are powered by sunlight. With a full battery charge, most solar-powered lights have a burn time of about 6 hours, which is enough to light through the night.
The most important consideration when you decide to install solar-powered lights is the location and placement of the lights. The solar cells of the light need to be exposed well to sunlight during the day so that the batteries are fully charged.
It is best to use this along the edges of the driveway or the walking path away from the shade of the trees for maximum sun exposure.
It is important to note that solar-powered lights are low in intensity compared to other lights. These are mainly focused on creating mood lighting with a dim aura. They range from 10 to 55 lumens which is far less than other landscape lights.
In winter, the lights could only last till midnight, while in summer, they could last longer depending on the intensity of sun exposure.
How to Install Solar Landscape Lighting
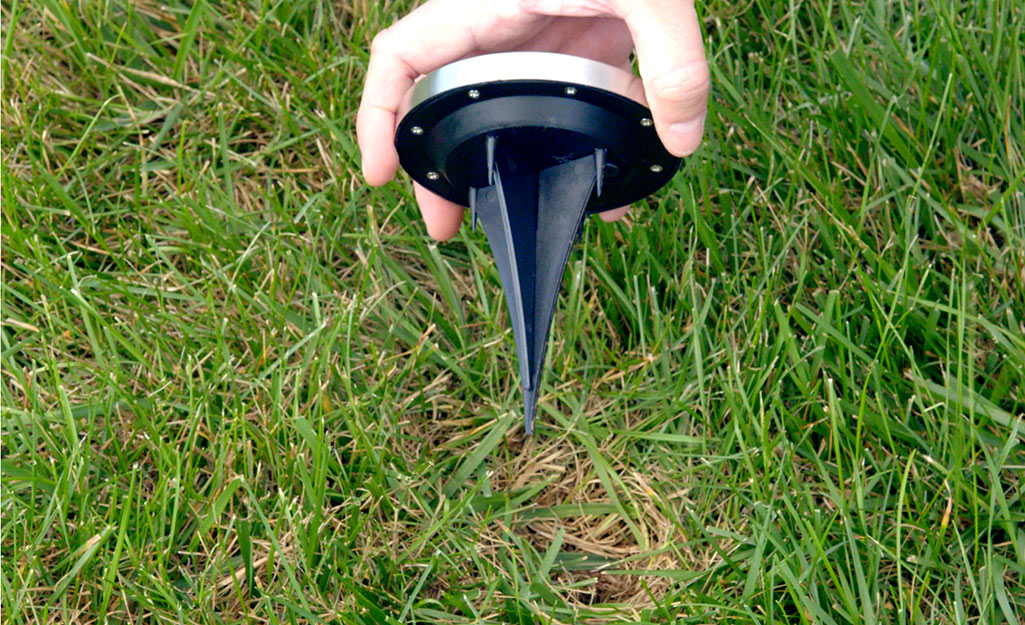
- The most important consideration is choosing the location of placement of the lights. These solar cells will need a minimum of 8 hours of direct sunlight for a full charge. So choose a location keeping these factors in mind.
- Install the solar panel in a location that receives the maximum sunlight. With many solar panel systems, the last light in the series is connected to the solar panel, so keep that in mind when you choose the placement.
- For the placement of lights, measure the desired distance between the lights and install them by inserting the riser post and placing the light on top of the riser post.
- Plug in the connection cables firmly as per instructions
- Turn on the system to activate and let the batteries charge for a minimum of 12-14 hours.
Also Read: Transform Your RV Interior: Tips and Trends for a Stunning Makeover
2. Low Voltage Landscape Lighting
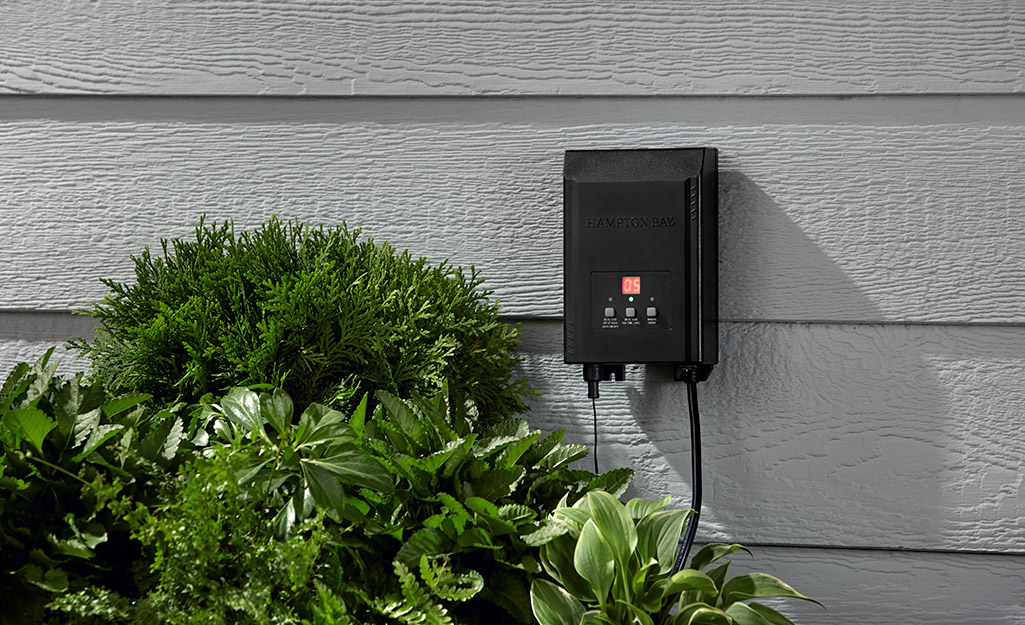
Low-voltage landscape lights are powered by a transformer that lowers the voltage down to 12 volts. These are plugged into a GFCI outlet outside.
These are safe to install and very energy-efficient systems. This is a slightly more technical process of installation than installing solar landscape lighting.
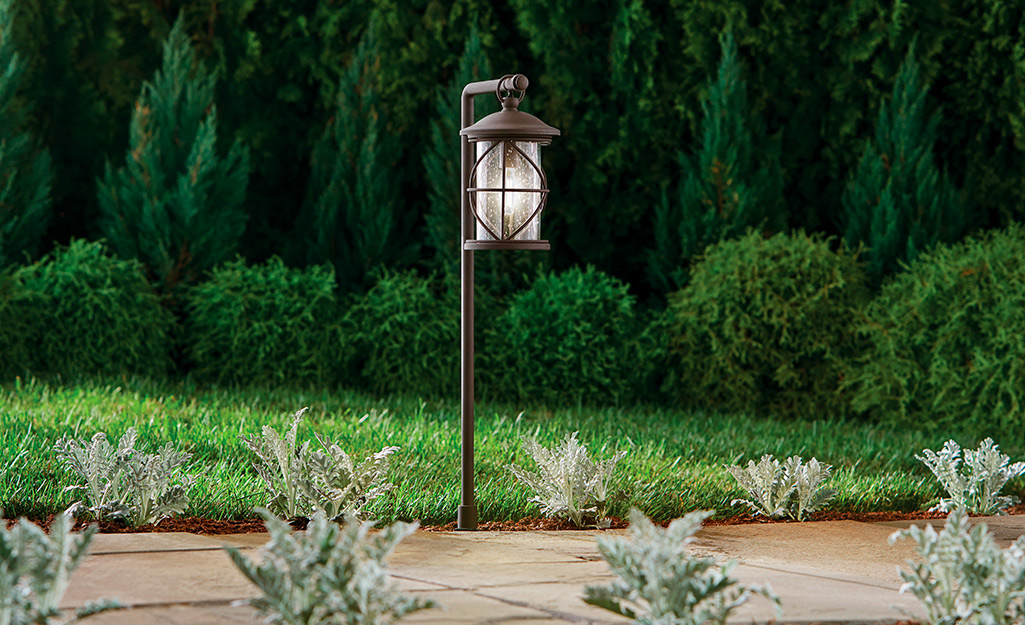
The lights are wired into the transformer with a long cable throughout the yard. Multiple lights can be attached to the cable at any point with a push-type connector.
The lights can be easily scheduled for the length of time they need to be aglow without any fade-out like in the solar lights.
The only con of this landscape lighting system is that push-type connectors don’t tend to last long.
The cable length can determine the brightness of the light, with lights closer to the transformer brighter and those at the far end being much dimmer.
How to Install Low Voltage Landscape Lighting
- Mount the transformer near a GFCI outlet. It should be no more than 6 feet from the outlet and at least 20 inches above the ground.
- These light fixtures need some assembly and some simple wiring. Make sure to follow the manufacturer’s instructions while laying out the cables and wiring.
- Measure the distance keeping it consistent, and place the lights temporarily
- Once the basic placement and other fixtures are done, you can drive the stakes to the intended location.
- To connect the lights to the cable, push the two sides of the push connectors to make a connection with the conductors inside. Wrap the connectors with electrical tape.
- Next, push the lights into the stake and check for plumb.
- Attach the cable to the transformer and plug it into the outlet. Check if the lights are all working.
- With the lights still on and working, bury the cables into the ground. If any of them flicker and stop working, then the connection is loose and must be checked.
3. Line Voltage Landscape Lighting
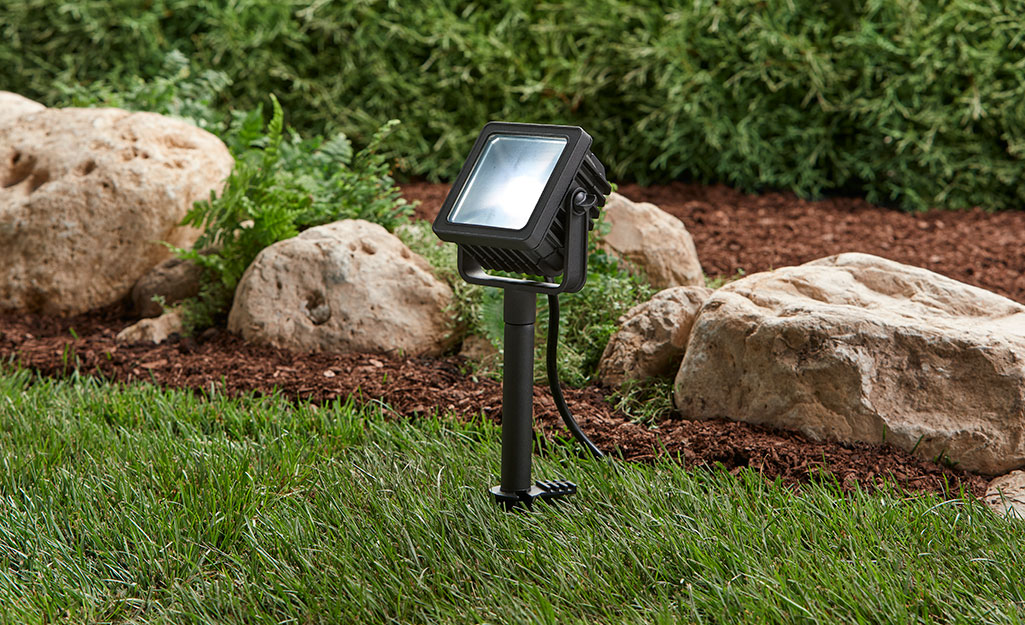
These lights work at the same 120 volts as the other appliances in your house. These do not step down the voltage, and it continues to be 120 volts throughout the cable.
These provide consistent lights that do not require a dimmer or flicker. Ideal for spotlights and running path lights for consistent lighting.
These are more long-lasting, robust, and efficient lighting systems. It is considered a permanent lighting solution once installed since it is long-lasting.
Due to their complexity, it is ideal to get these installed by a licensed professional. It may require an electrical permit from your local building department and a professional inspection.
See More: 12 Stunning Black Front Doors to Make a Bold First Impression
How to Install a Line Voltage Landscape Lighting
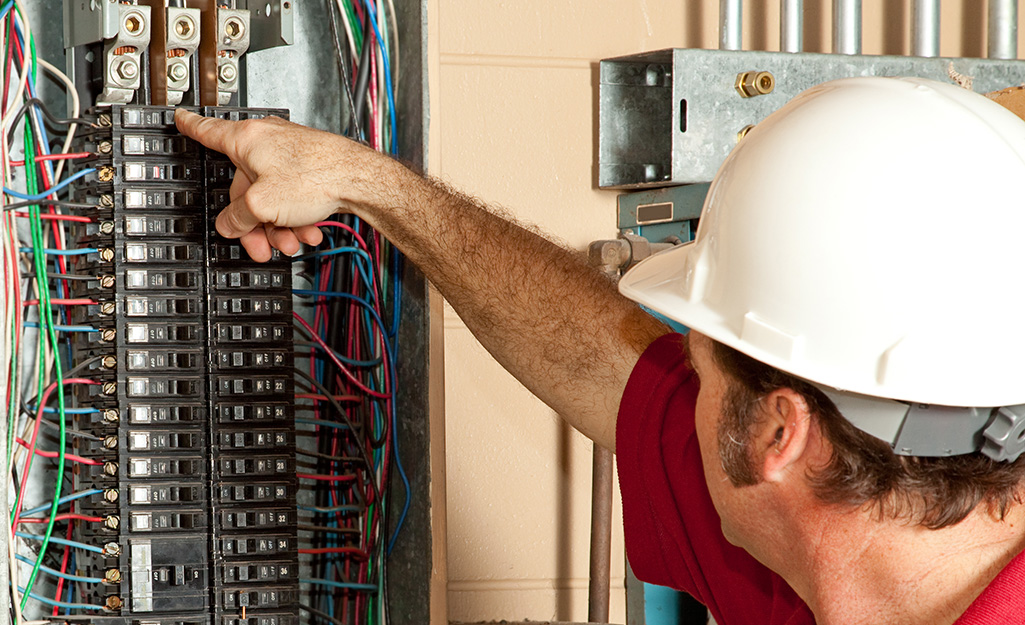
- If you plan to DIY this installation, talk to your local building department to know about the relevant compliances.
- The home’s main electric panel can feed into an outdoor panel for circuit breakers, so installing a sub-panel or an L-shaped conduit fitting works best.
- Dig a trench that is at least 18 ft deep.
- Create the mounting posts for the light. The type of lights will determine how the lights will be mounted.
- Run a conduit of UF wires to light up the individual lights.
- Turn off the main circuit panel in your home
- Wire the light fixture and the light switch.
- Then connect to the GFCI circuit breaker
- Turn the power back on and test the lights
- If you are satisfied with the working of the lights, cover up the trench.
Designing Landscape Lighting
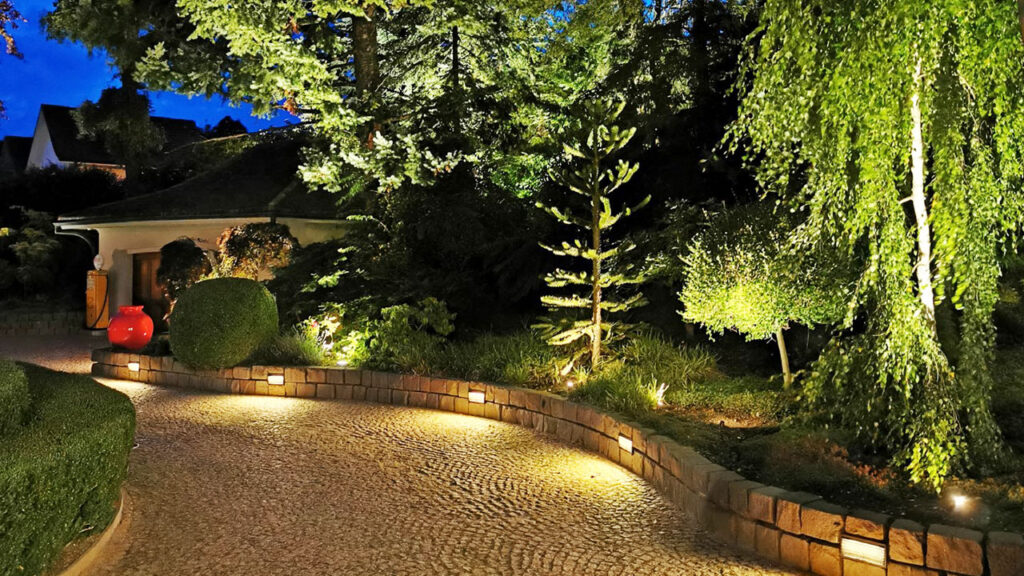
Landscape lights are most commonly installed to illuminate the key focal points of the walkways and other elements. Some of the key techniques that you can achieve with landscape lighting are
- Silhouetting: Putting the light behind a feature, create a silhouette that can be used to emphasize the main feature of the yard
- Highlighting: Used to highlight the main feature like a rock clutter, fountain, or any other striking element
- Washing: This is used on flat walls, and the lights are placed to create sharp shadows
Tools Required for Installing Landscape Lighting
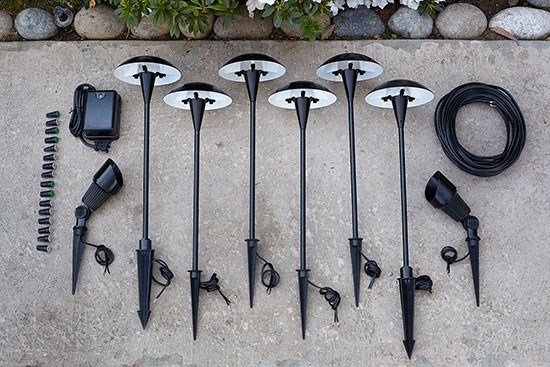
- Screwdriver
- Drill
- Pliers
- Wire cutter
- Wire stripper
- Shovel
- Anchors
- Lights kit
Things to Consider Before Installing Outdoor Lights
Related: 12 Ways to Decorate Your Small Front Porch for Christmas
1. Decide on the Focal Points
Do you want to illuminate your walkways, light up your flower beds, or just light up a glow around the house?
Whatever the need, you need to decide on the focal points and utility before undertaking the project.
2. Choosing the Right Lights
You will need to choose the best among the three outdoor lighting options given above. Choosing the right one will depend on what look and purpose you are going for.
If, for example, your yard gets a lot of natural sunlight, solar light might be the best option. There are also smart light options available which are app-controlled with lots of other features.
3. Planning
Now that you have decided on what works best plan your purchases. It is best to get your measurements beforehand to help you shop better.
Make sure to buy high-quality weather-resistant fixtures so that you don’t have to deal with breakdowns frequently.
Summing It Up
Your front yard is one of the first touchpoints for everyone entering your home. It is time to make it the talking point with some smart choices in terms of lighting.
You can easily DIY these with lots of resources available and also turn to a professional for more lasting solutions. It is an easy home improvement project you can take up at any time of the year.
Just make sure that the ground conditions are ideal for digging and driving the stakes.
With a few simple tools and a few low-cost resources, this is easier and cheaper than you can think, and the effect it has on your house post-sunset is to be seen to be believed.
So whether you are undertaking this for home improvement or safety and security purposes, there is a solution for everyone. So which of these options do you think is ideal for your home? Comment down below!
Check This Next: 12 Best Modern Farmhouse Lighting Options on Amazon


