Brick Edging is the best way to protect the garden beds and visually enhance the outdoor setting. The proper procedure has to be implemented for the longevity of this edging.
This article will help if you are looking for a step-by-step guide on laying a brick garden edging. Understand how brick boundaries support your garden and help the plants.
Identify what kinds of brickwork are best for your space and find out where to lay the edge. Before beginning the process of laying down the bricks, many aspects need to be addressed.
This article explores various aspects of edging and helps you lay a strong foundation for your brick boundary.
Where Can Brick Edging Be Done?
With a solid foundation, your brick edging will last till the house survives. Bricks are perfect for creating a border near your garden or a walking path.
If your backyard or garden is filled with many plants and no specific place to walk, laying a brick edge can help. Two parallel edges create a path that travels throughout the garden.
By creating this path or boundary, you reduce the chances of damaging a plant by stepping on it unknowingly.
These boundaries are perfect for any space that needs safeguarding from the intrusion of unnecessary water, animals, or human movement. If the pathway is big enough for vehicles to pass through, it is good to have a boundary.
Benefits of Having a Brick Boundary in Your Garden
- The chances of soil erosion are drastically reduced, and your landscape is protected.
- They are the most durable option for adding a design element to your garden and protection.
- They need the least maintenance once fixed in the ground. In case of damage to any bricks, you can replace them with a new one.
- It gives a well-groomed and professional look to your garden area.
Similar Post: How to Lime Wash Brick in Simple Steps
6 Steps to Get the Best Brick Edging in Your Garden
Many professional entities out there provide brick-edging services. However, if you are a DIY person and want to do it all by yourself, it is possible too.
The steps are simple and can be done single-handedly within a few days. Doing it on your own will save the cost and give you the satisfaction of creating the edging yourself.
Let us have a look at the process of laying a brick edge in your garden.
1. Select the Path and Measure
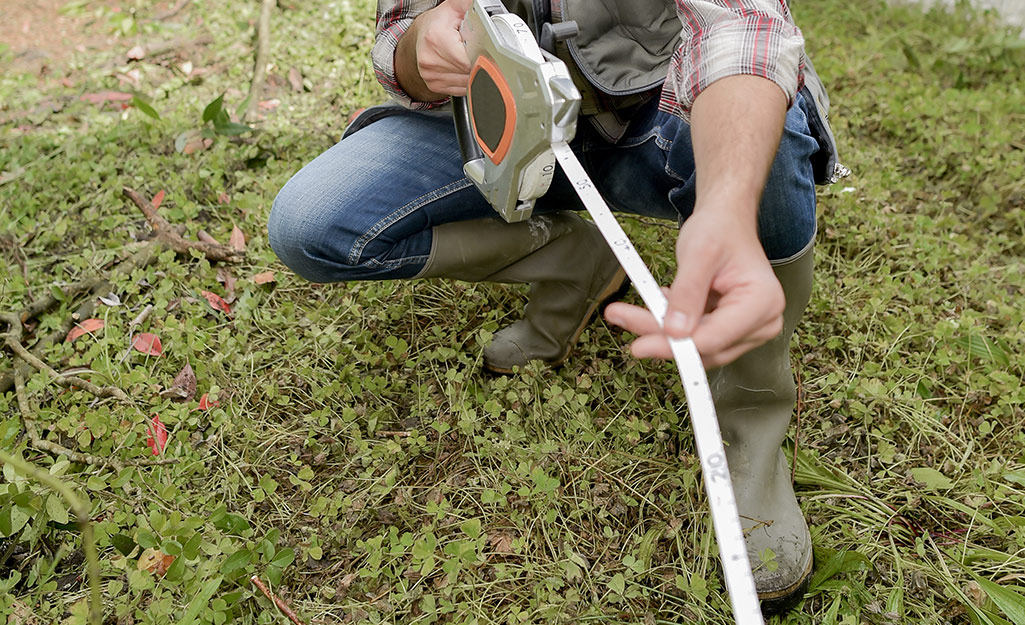
The first step is to select the path on which you wish to build the edging. It is not at all necessary that you have to do it in a straight line.
Depending upon the area you want to cover, the edge can be a curve, zig-zag, or a straight line. Mark the area you wish to create the edge and measure the length.
The measurement will help to decide the number of bricks required for the process. Also, draw a rough line throughout the path to know the area that needs to be dug deeper.
The best time to lay a brick boundary is when the soil is moist and calm. The beginning or end of the monsoon season is the best time to do this.
2. Dig Deep
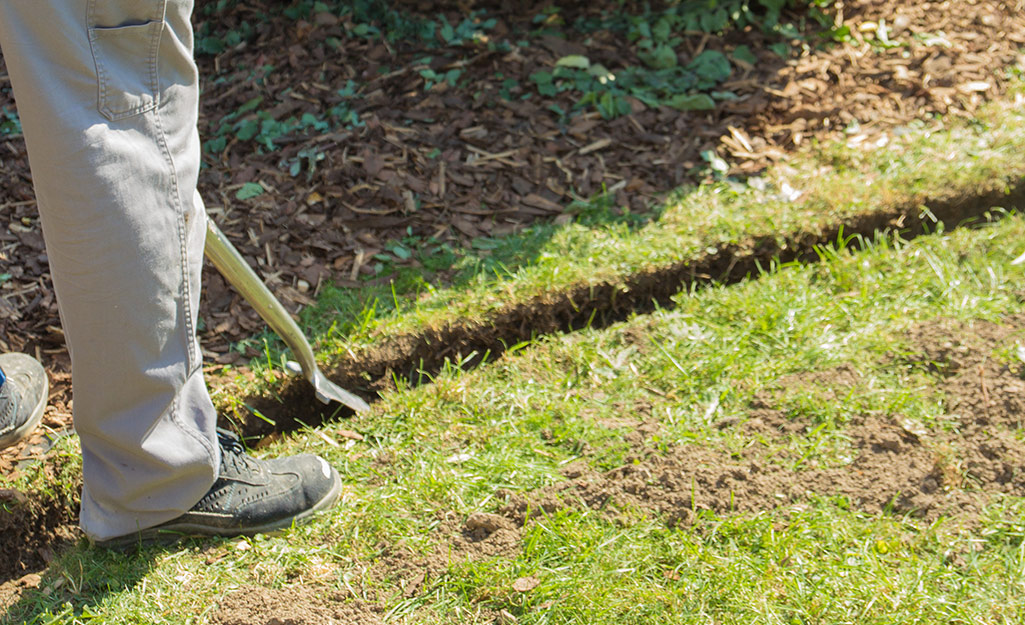
Once you are ready with the path, it’s time to dig the path deeper to make a solid foundation. A depth of 4 inches is enough to set the foundation with strengthening materials.
Begin the digging process with the help of a shovel or any other garden tool you find comfortable. If you are building the brick edging in the monsoon, the soil will already be moist.
If you plan to build the boundary in any other season, sprinkle some water on the pathway. The digging process will be much easier with some moisture on the land.
Depending upon the size of the brick, keep a margin of 1-2 inches above the size and decide the width while digging the path. It will give the bricks proper space to adjust and allow any movement if needed.
3. Setting the Foundation
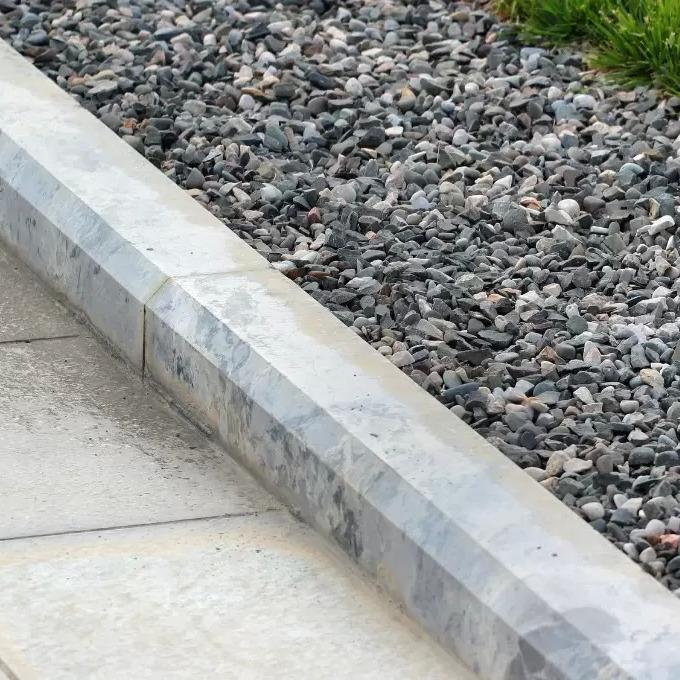
The first layer of the foundation is with a Type 1 compacted sub-base. It includes crushed granite, limestone, basalt, or gritstone. All these material comes in the range of 40mm to crushed form.
The small stones help create a compact and aggregate layer on the sand. It will give the needed strength to the brick edging.
This sub-base is the same foundation used for building roads, highways, and pathways. Instead of stones, recycled materials like bricks, concrete, and hardcore can also be utilized for the first layer.
After placing the first layer, level the sub-base to avoid any ups and downs in the further process. You can get readymade crushed sub-base online according to your choice.
If you want to use recycled materials, find a place that sells building and construction materials. The best part about compacted sub-base is that it does not wash away in the rain.
Also Read: 12 Stunning Black Front Doors to Make a Bold First Impression
4. Covering with Mortar
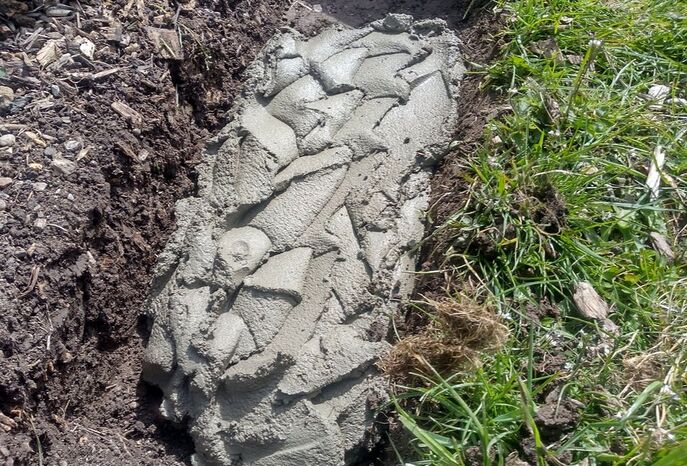
Mortar is a combination of cement, sand, and water. This mixture makes it easier for the bricks to stick to the ground and remain intact for longer. Mix sand and cement in the proportion of (4:1).
Once the mixture is ready, add some water and keep mixing. Keep adding water and mixing until it reaches a thick paste consistency. This mixture is known as mortar, the second foundation for our brick-edging process.
Use the mortar as quickly as possible, within 30 minutes to 1 hour. If you make a large quantity of mortar and store it for a few hours, it will dry up. If you plan to take a break, only make as much as you can use.
Once the mortar is ready, apply it across the path above the first sub-base layer. If you only want the surface of the bricks to be visible outside, leave more space.
If you want the whole brick to be visible, then apply the mortar to the highest level without leaving much space. Level the mortar as you apply it to create a consistent thickness.
This will make it easier for the bricks to sit on the surface. Once the second foundation settles, now is the time to place the bricks.
5. Set the Bricks
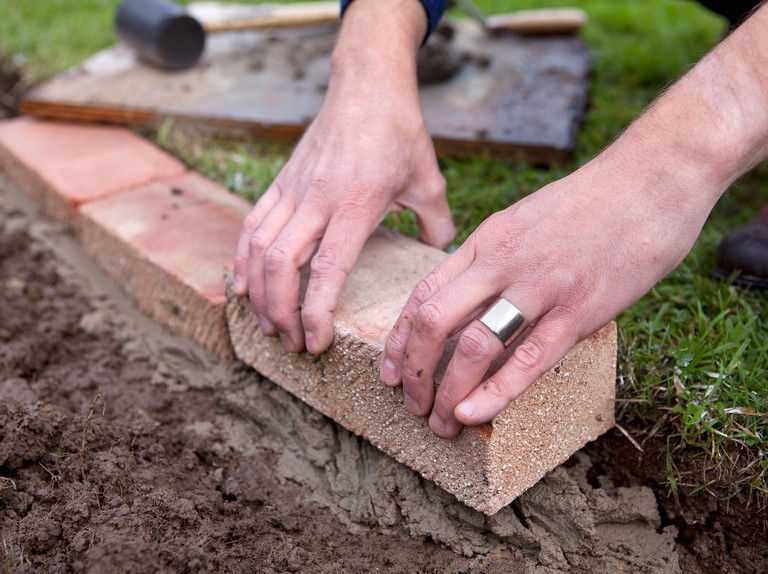
The brick selection process depends upon the choice of the owner. If you want large and broad bricks, you will need less quantity.
However, if you need small bricks, you will have to buy them in more quantities. To decide the number of bricks, find the length of the path you want to be covered.
Let’s say the measurement is 330 inches. Now, find out the width of the brick you choose to use. Assuming it to be 5 inches, the number of bricks needed will be 330/5 = 66 bricks.
Add 10% to that quantity and order the bricks; in this case, it will be 72 bricks. If the brick edging is circular, you will need to cut the bricks to fit the circular pattern.
Simply place the bricks on the mortar and lightly tap them to stick. Do not leave much space between the bricks, but also do not stick them together.
Whatever space you choose to leave between the bricks, maintain consistency. Brick by brick, create an edging similarly by placing them firmly on the surface and tapping them. Use a hammer or rubber mallet to tap the bricks for better placement.
See More: 20 Best White Floating Shelves Design Ideas for Your Home
6. Fill the Gaps
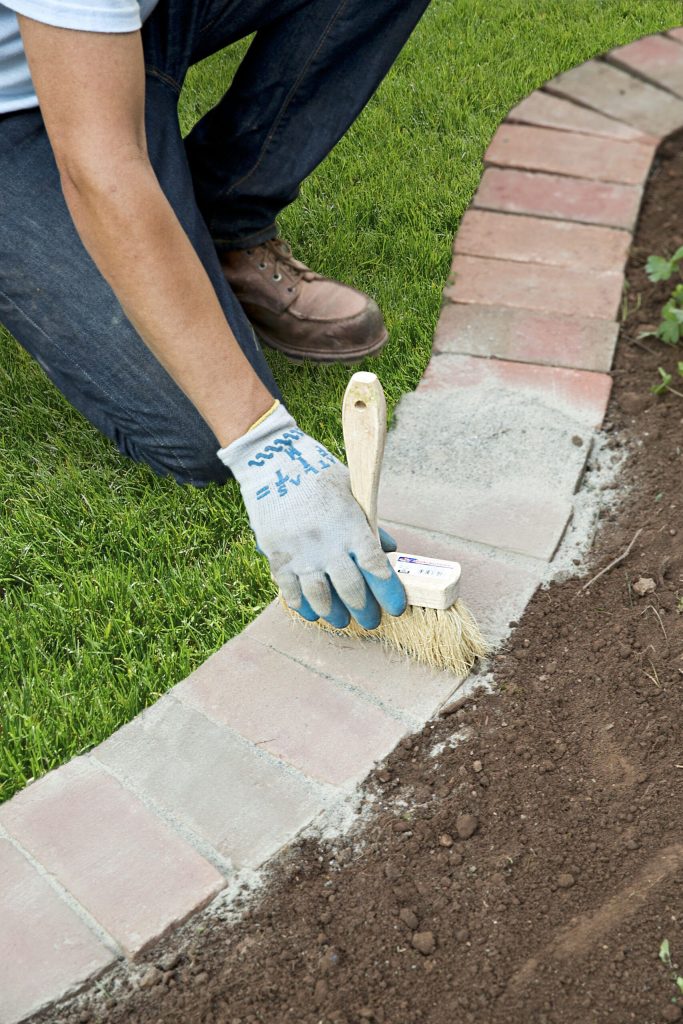
Once the bricks are in line, use any leftover stone dust or pour polymeric sand to cover the gaps between the bricks. It needs to be done immediately after placing the bricks.
After pouring the sand, with the help of a brush, sweep them into the spaces between the bricks. Adjust and tap the bricks to tightly pack them to stick the mortar, compress them between the sand, and press them against the polymeric sand.
Brush off the extra sand from the surface once the bricks have settled on the surface. The presence of sand can form stains on the bricks.
After a few hours, spray gently with water on the brick edging. Dampen the sand between the bricks and around the boundaries. It will lock the whole garden edging for years to come.
Make sure to spray water in small quantities for the next few days to strengthen the structure. A sturdy brick boundary will be ready for your garden within a week.
Once built, no maintenance or care is required unless the bricks break due to unexpected circumstances.
Why is Brick Best for Garden Edging?
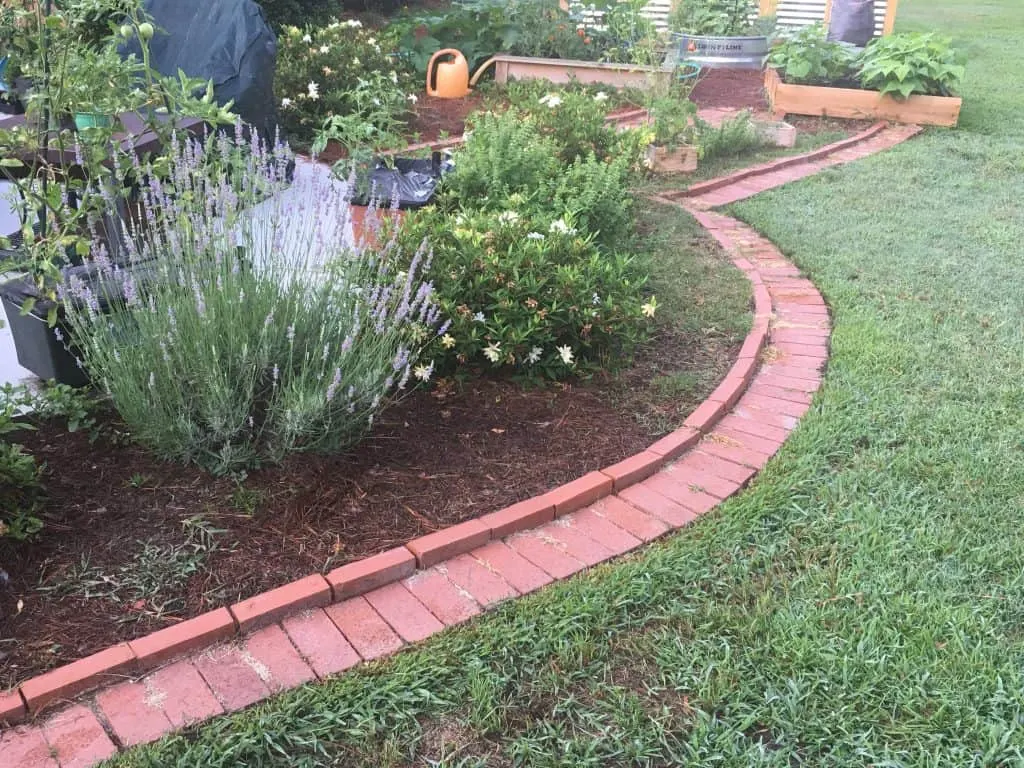
When creating garden edging, there are many options, like aluminum, metal, plastic, rubber, stones, and concrete.
However, this article vastly explores the process of laying a brick garden edging. There are many reasons why brick is the best of all the options available.
1. Cost-Effective
Bricks are less expensive compared to other materials. Also, having some extra bricks in the backyard or store room can help in this project. There are various platforms online that can help you with some inexpensive bricks.
Along with that, creating a brick edging does not require expertise. It is not necessary to hire a professional and pay. You can get along with your family and friends to implement this simple process.
You can also do it yourself if you have prepared well in advance.
2. Durable
Brick can withstand all kinds of weather without being affected. The structure and texture remain intact irrespective of the external conditions. Once built, this brick structure will last for years to come.
It means it’s just a one-time cost, and you have a beautiful boundary in your home for the rest of your lives.
3. Appearance
Brick does not always mean boring, rectangular, or orange color. There are many options available in the market when it comes to brick edging.
Explore the alternatives if you want your garden boundary to look creative and unique. You can also color the bricks and design them with water-proof colors to add further beauty to your outdoor space.
Related: 25 Unique and Inspiring Bedroom Chair Ideas for Your Dream Home
4. Maintenance
The soil and moisture around the bricks can result in the growth of weeds. The only maintenance you need to do is, remove those weed regularly so that it does not form deeper roots.
Once they have deeper roots, it will become hard to remove them.
Conclusion
The structure of bricks is perfect for edging or creating a walkway between your bushy garden area. Pave out a pathway or boundary, depending on the space in your garden.
Begin the work, and you will get it done in no time with these 6 easy steps. It will be implemented in a single day if you diligently pursue the process and have all the raw materials with you.
However, if you do it slowly and gradually over 3-4 days, that is also fine. Considering the availability of your time, plan the schedule and working hours.
It can be a wonderful family activity in teams if all the members can join. You can build the brick boundary while experiencing teamwork with your loved ones.
Protect your garden and enhance the aesthetic of your outdoor space with these steps. Build strong and appealing brick edging for your lawn, backyard, or farm.
Check This Next: 21 Unique Wall Shelving Ideas to Upgrade Your Home Decor


